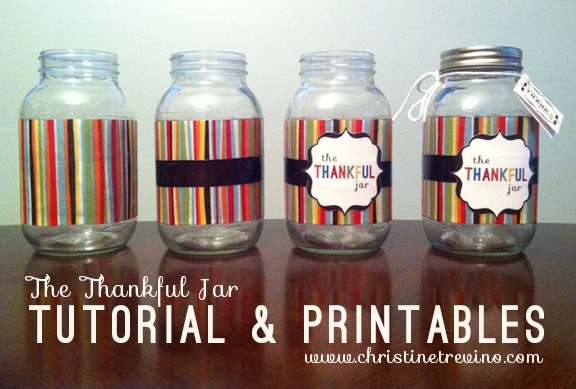
The Thankful Jar | Tutorial & Printables
Last post, I shared how valuable The Thankful Jar has been to help me gain a perspective of thanksgiving throughout the year. When I started, all I used to hold my notes was a mason jar labeled with a silver sharpie, but long-term I think this dressed up version is a whole lot more fun. 🙂 The Thankful Jar was my first ever Mod Podge project, and I absolutely fell in love with the concept. If you’ve never done it before, head on over to wikiHow’s article How to Mod Podge to familiarize yourself with that component of this DIY, and then jump back here for specific instructions and measurements.
What you’ll need
- Quart-size mason jar
I like using WalMart’s Mainstays jars because they have a smooth surface. - Mod Podge {Gloss} Waterbase sealer, glue & finish
- 1″ or 2″ foam brush
- Strip of colored fabric 3-1/2″ tall X 13″ long
- Strip of 1″ wide ribbon 13″ long
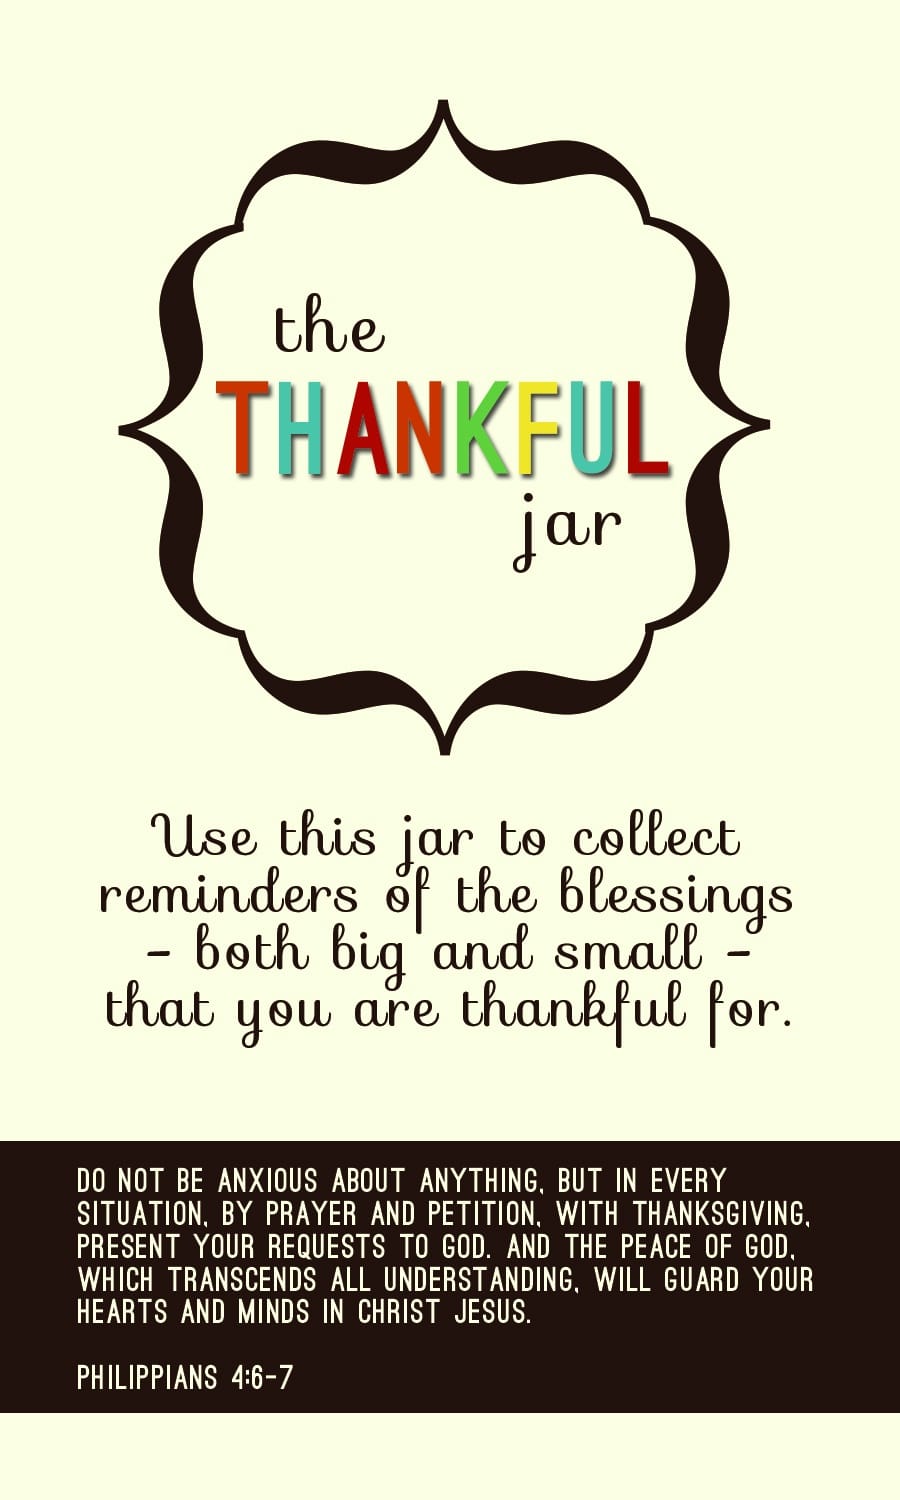
- The Thankful Jar – label (printed on cardstock)
If you’re making this for someone else you might also want to include
- Length of yarn
- Happy Thanksgiving – Gift Tag (printed on card stock, folded and hole-punched)

PDF downloads available below. File prints as a 2X2 folded card. - The Thankful Jar – Insert (printed on cardstock)

PDF downloads available below. File prints as a 3X4.5″ card.
PDF Downloads
- The Thankful Jar [printables for one complete jar]
- The Thankful Jar-Label Page [6 labels]
- The Thankful Jar-Insert Page [3 inserts]
- Happy Thanksgiving-Gift Tag Page [6 gift tags]
How to assemble the jar
Now that you have all your supplies and know how to mod podge, follow these simple instructions to assemble your own Thankful Jar.
- Cut fabric, ribbon and any printables you are using as specified above.
- Mod podge the fabric to the jar, the ribbon to the fabric, and the printable to the ribbon.
Because I used a vertical striped pattern, the seam of the fabric is not very noticeable. Place the seam of the ribbon opposite the seam of the fabric and tack the label over the seam of the ribbon to give it a finished look. - Following wikiHow’s instructions, I coated slightly beyond the entire area of the fabric four times, allowing for the recommended 15-20 minutes between coats.
- If you’re giving The Thankful Jar as a gift, place the insert into the jar, and tie the Thanksgiving Gift tag around the mouth of the jar with yarn.
- Let the jar dry completely for 24 hours. Do not touch the label when wet! Lesson learned.
