Sewing an Attached Cape
We are no stranger to capes in this house. I’ve made this cape, and this cape (which I absolutely love and recommend for ease of creation, costume care, versatility, AND it just looks freaking awesome), BUT my little guy has cape anxiety and won’t wear anything that pulls at his neck. So I’ve been forced to redesign my cape-making ways to accommodate this year’s costume request.
Supplies for Child’s Attached cape
All you’ll need to make this cape is one cut of satin fabric, X length in inches from shoulder to floor, and a shirt/sweatshirt to attach it to.
I used 1/2 yard of yellow satin fabric and a red sweatshirt.
Special Note
You’ll see a seam line in the middle of the cape in all the pictures (because I was thinking this cape when I started), but in retrospect it was not necessary for the length cape I made. Therefore direction #1 is optional based on the length that YOU are creating for your child :).
Directions
– 1 – Optional
Cut the length of fabric along the fold from the bolt of fabric. Seam the now two lengths of fabric together in the middle. Flatten the seamed edge to one side, and make a running stitch along the folded edge to tack the seamed edge down.
– 2 –
Seam all edges of the cape (I used the edge of the presser foot as a guide). Using the original seam as a guide, turn, pin & seam all edges of the cape to finish.
– 3 –
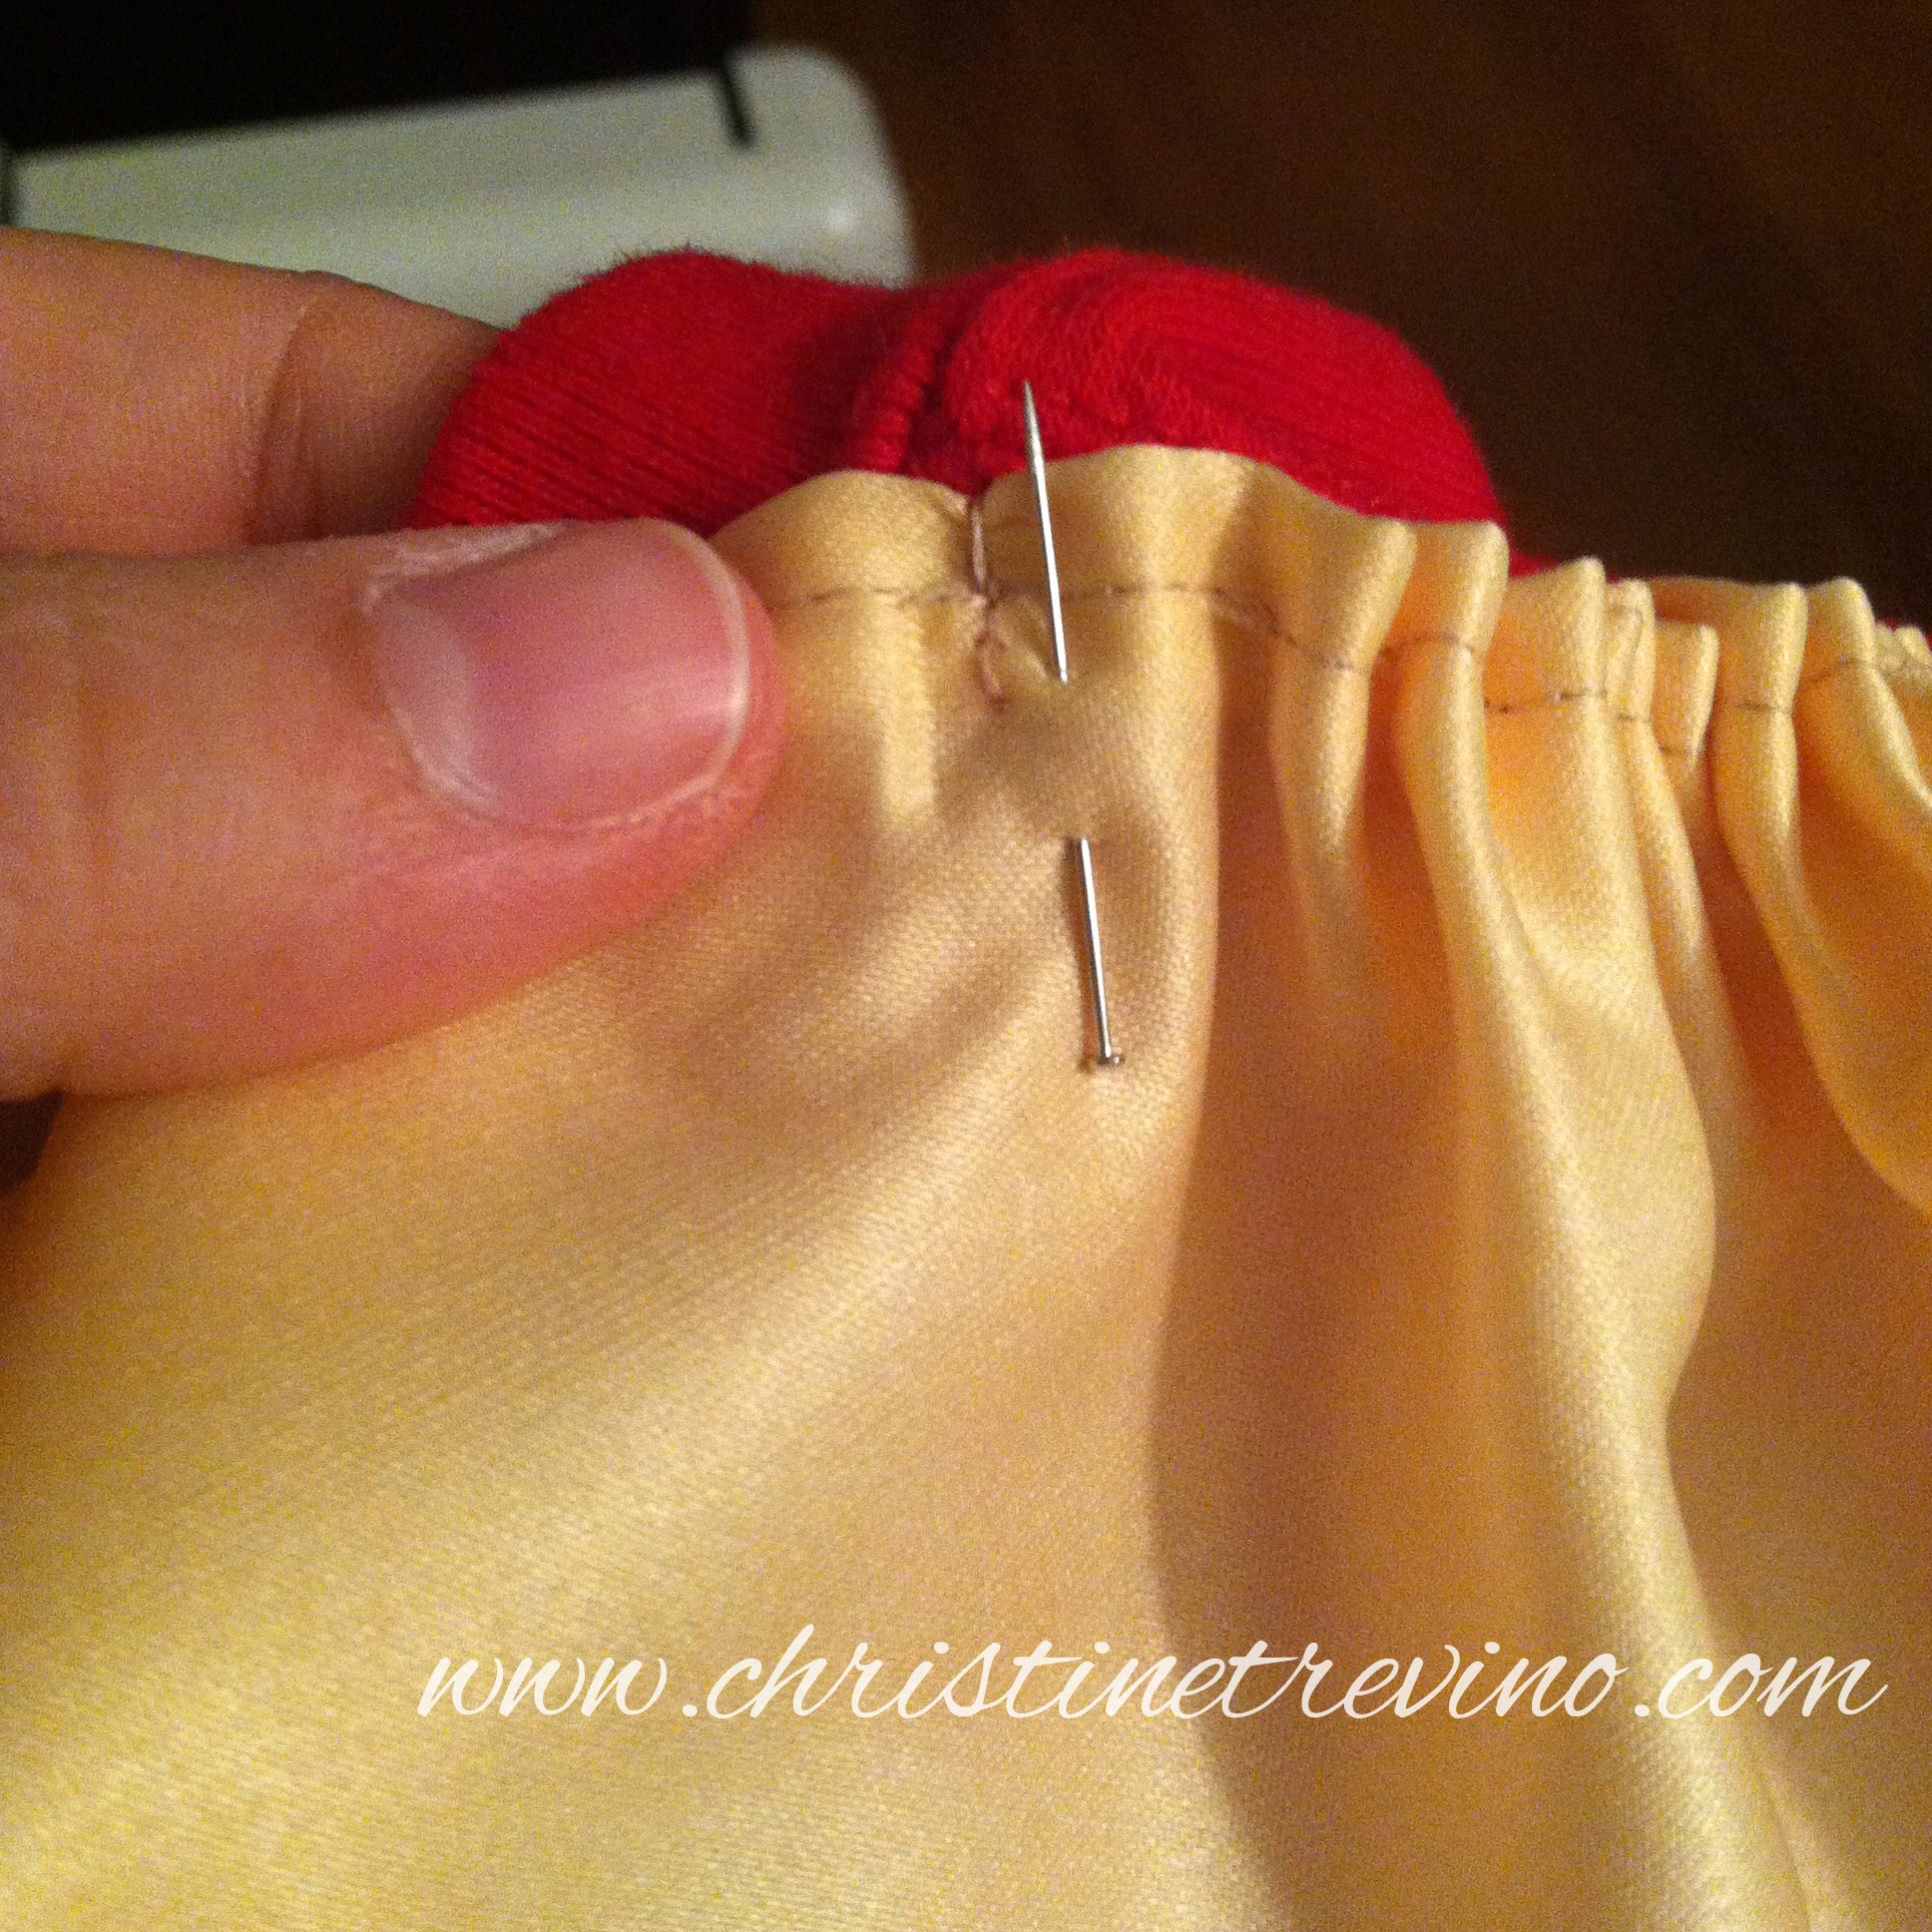
Using a needle and thread, baste (by hand) the top seam of the cape (about every 3-4 machine stitches), and gather to the size of the length of your shirt/sweatshirt from shoulder to shoulder (and around the neck).
– 4 –
Tack the basted side of the cape with needle and thread in the following 5 places:
- At the end of each shoulder (where the front, back, and arm seams of the sweatshirt/shirt meet),
- At each end of the neck (where the front, back, and neck seams of the sweatshirt/shirt meet), and . . .
- In the center of the neck.
– 5 –
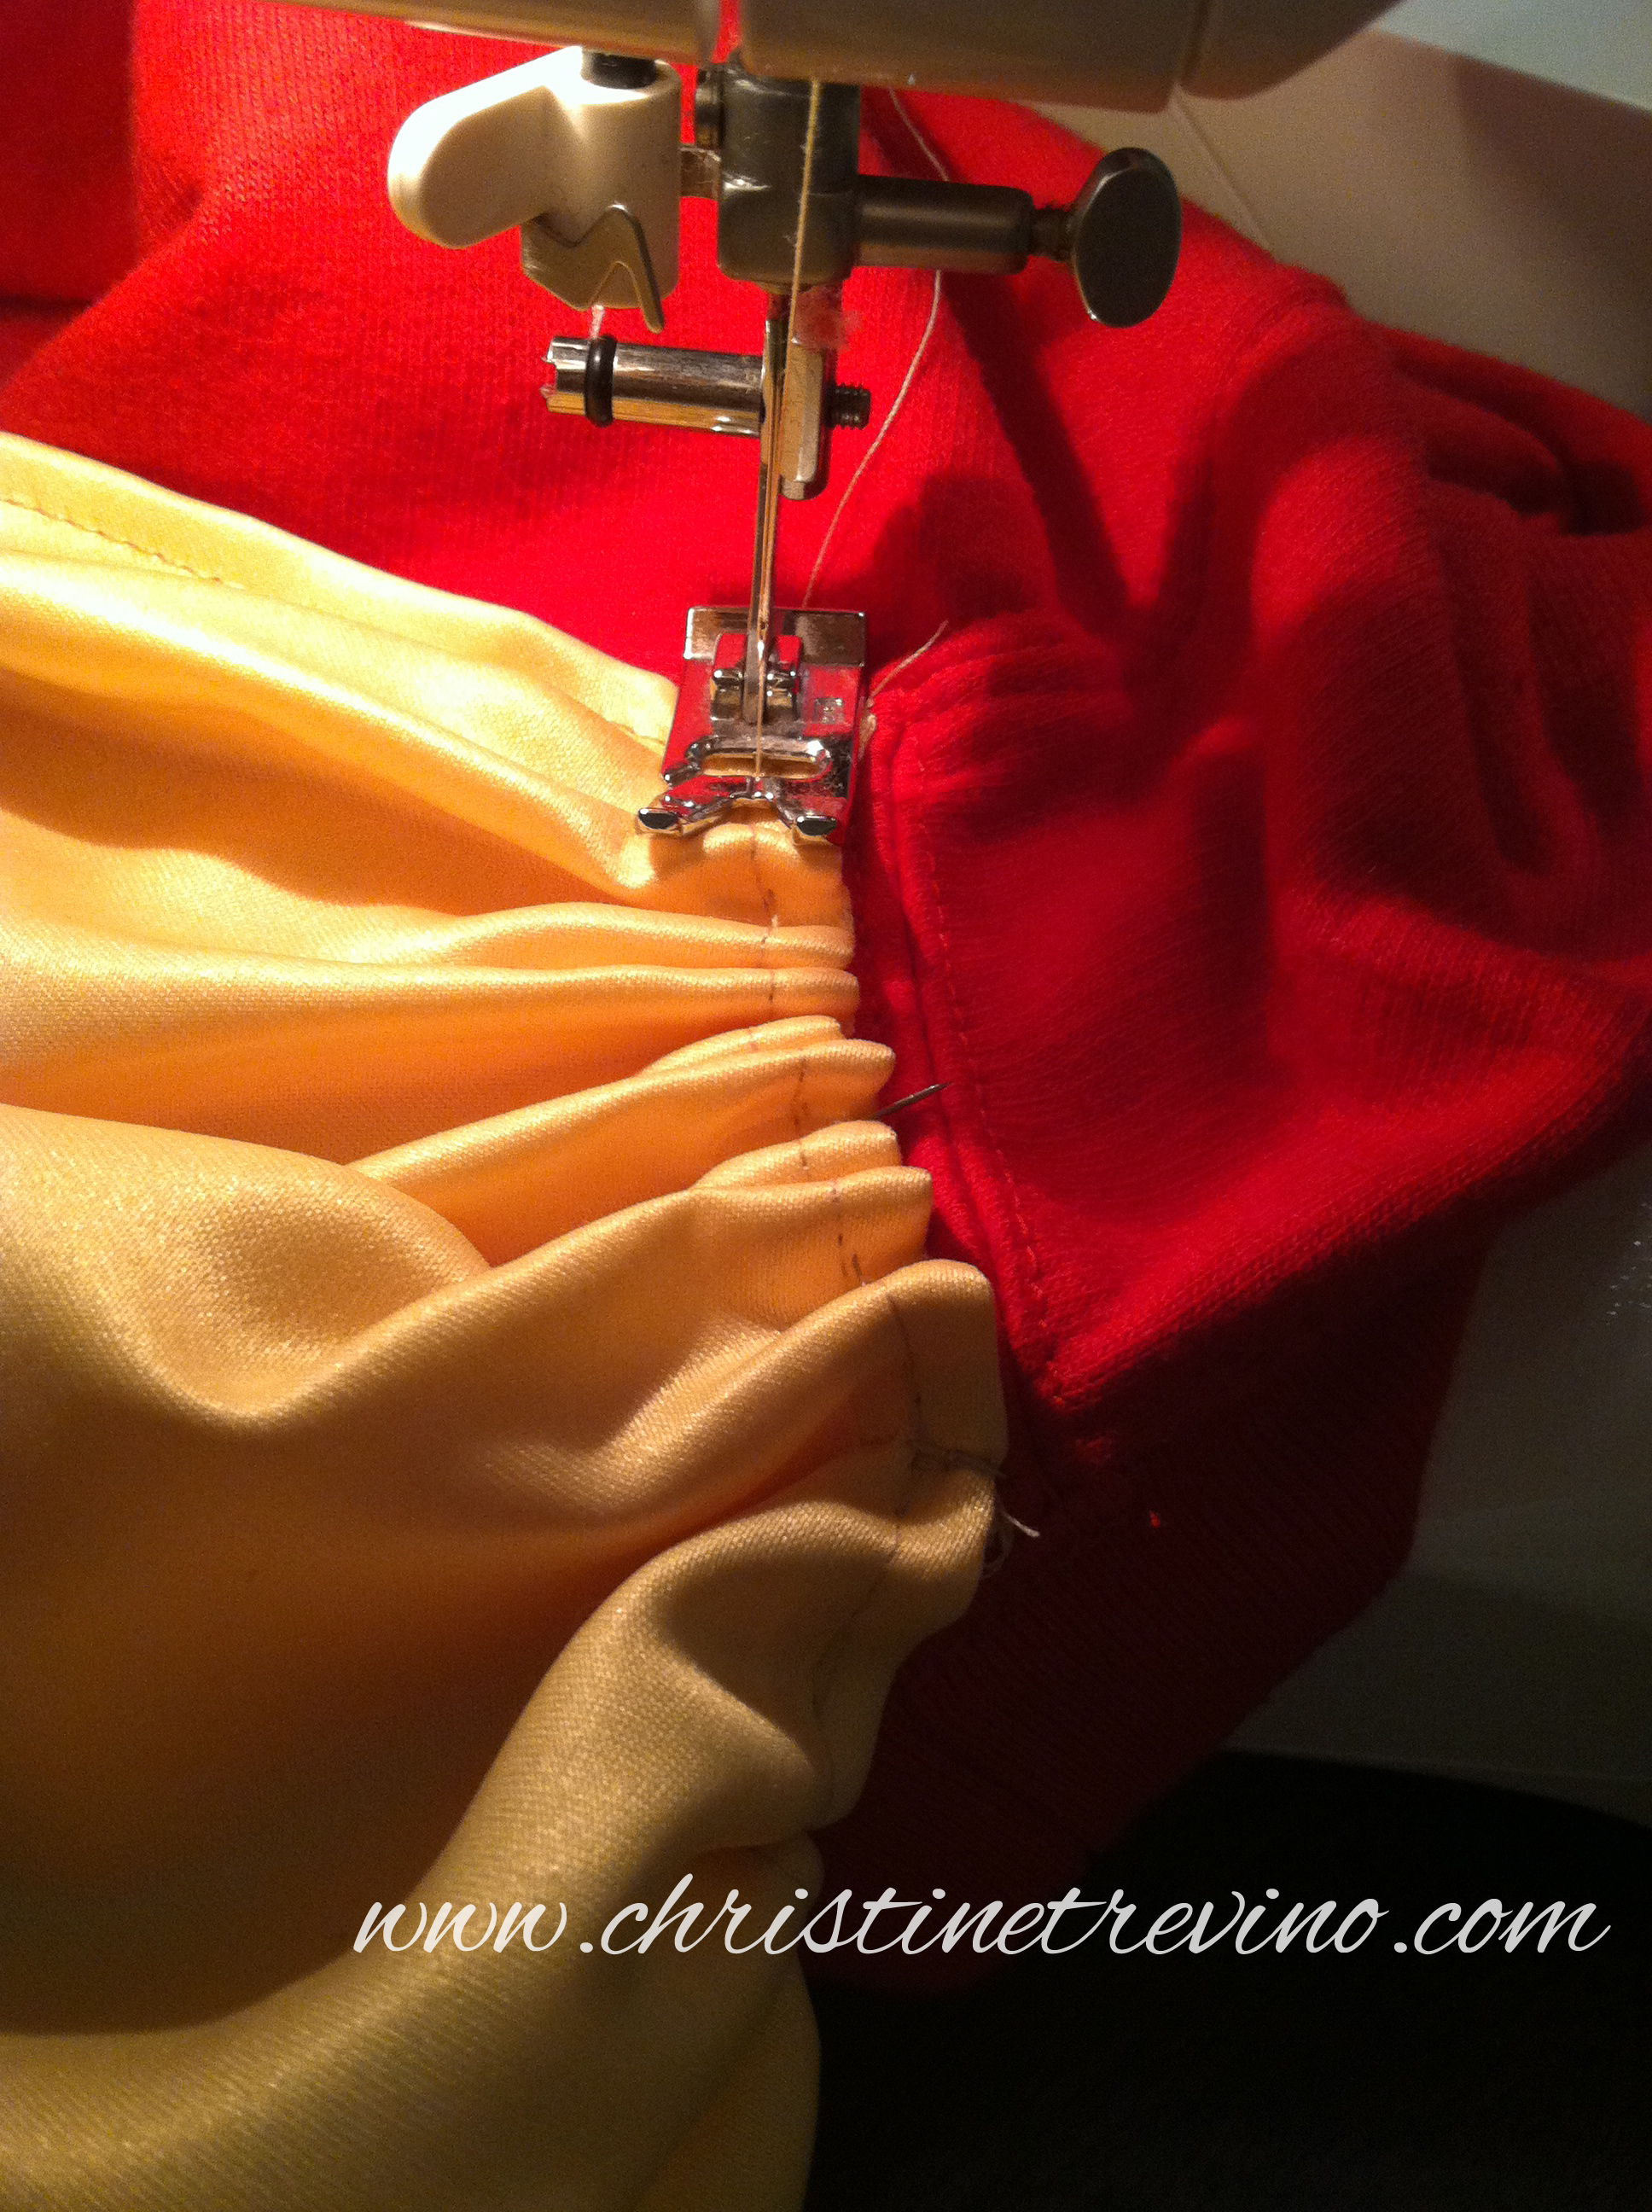
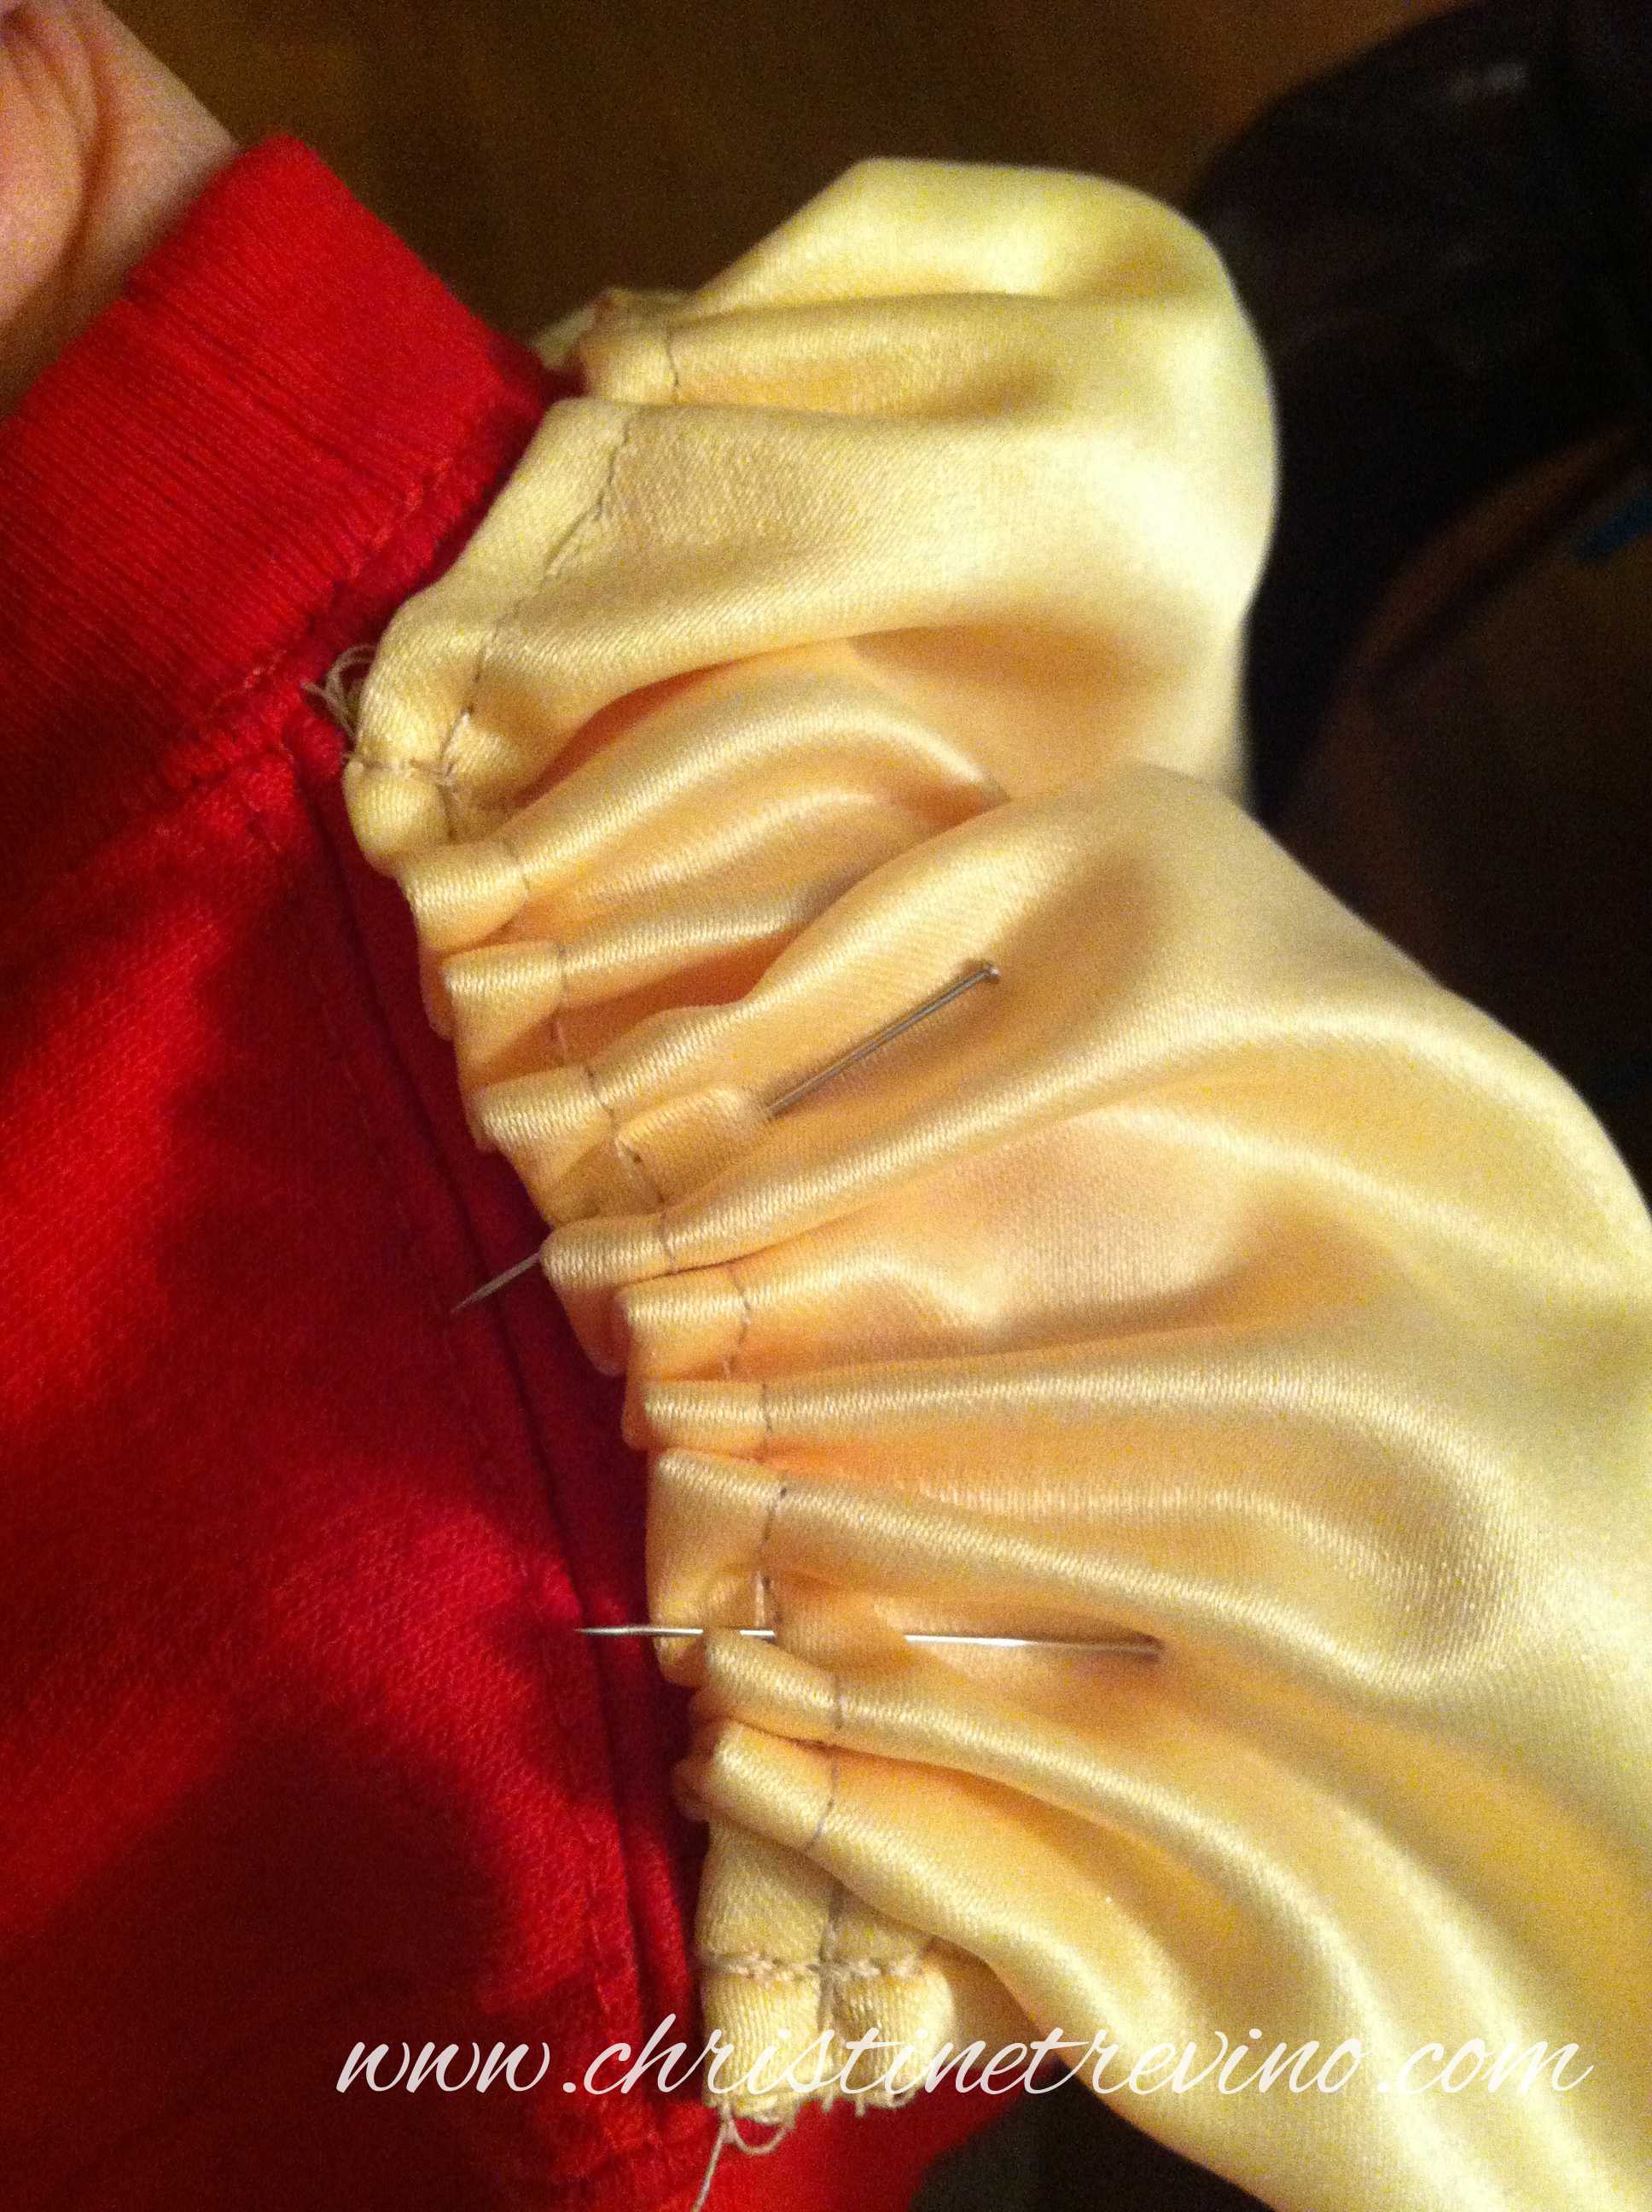
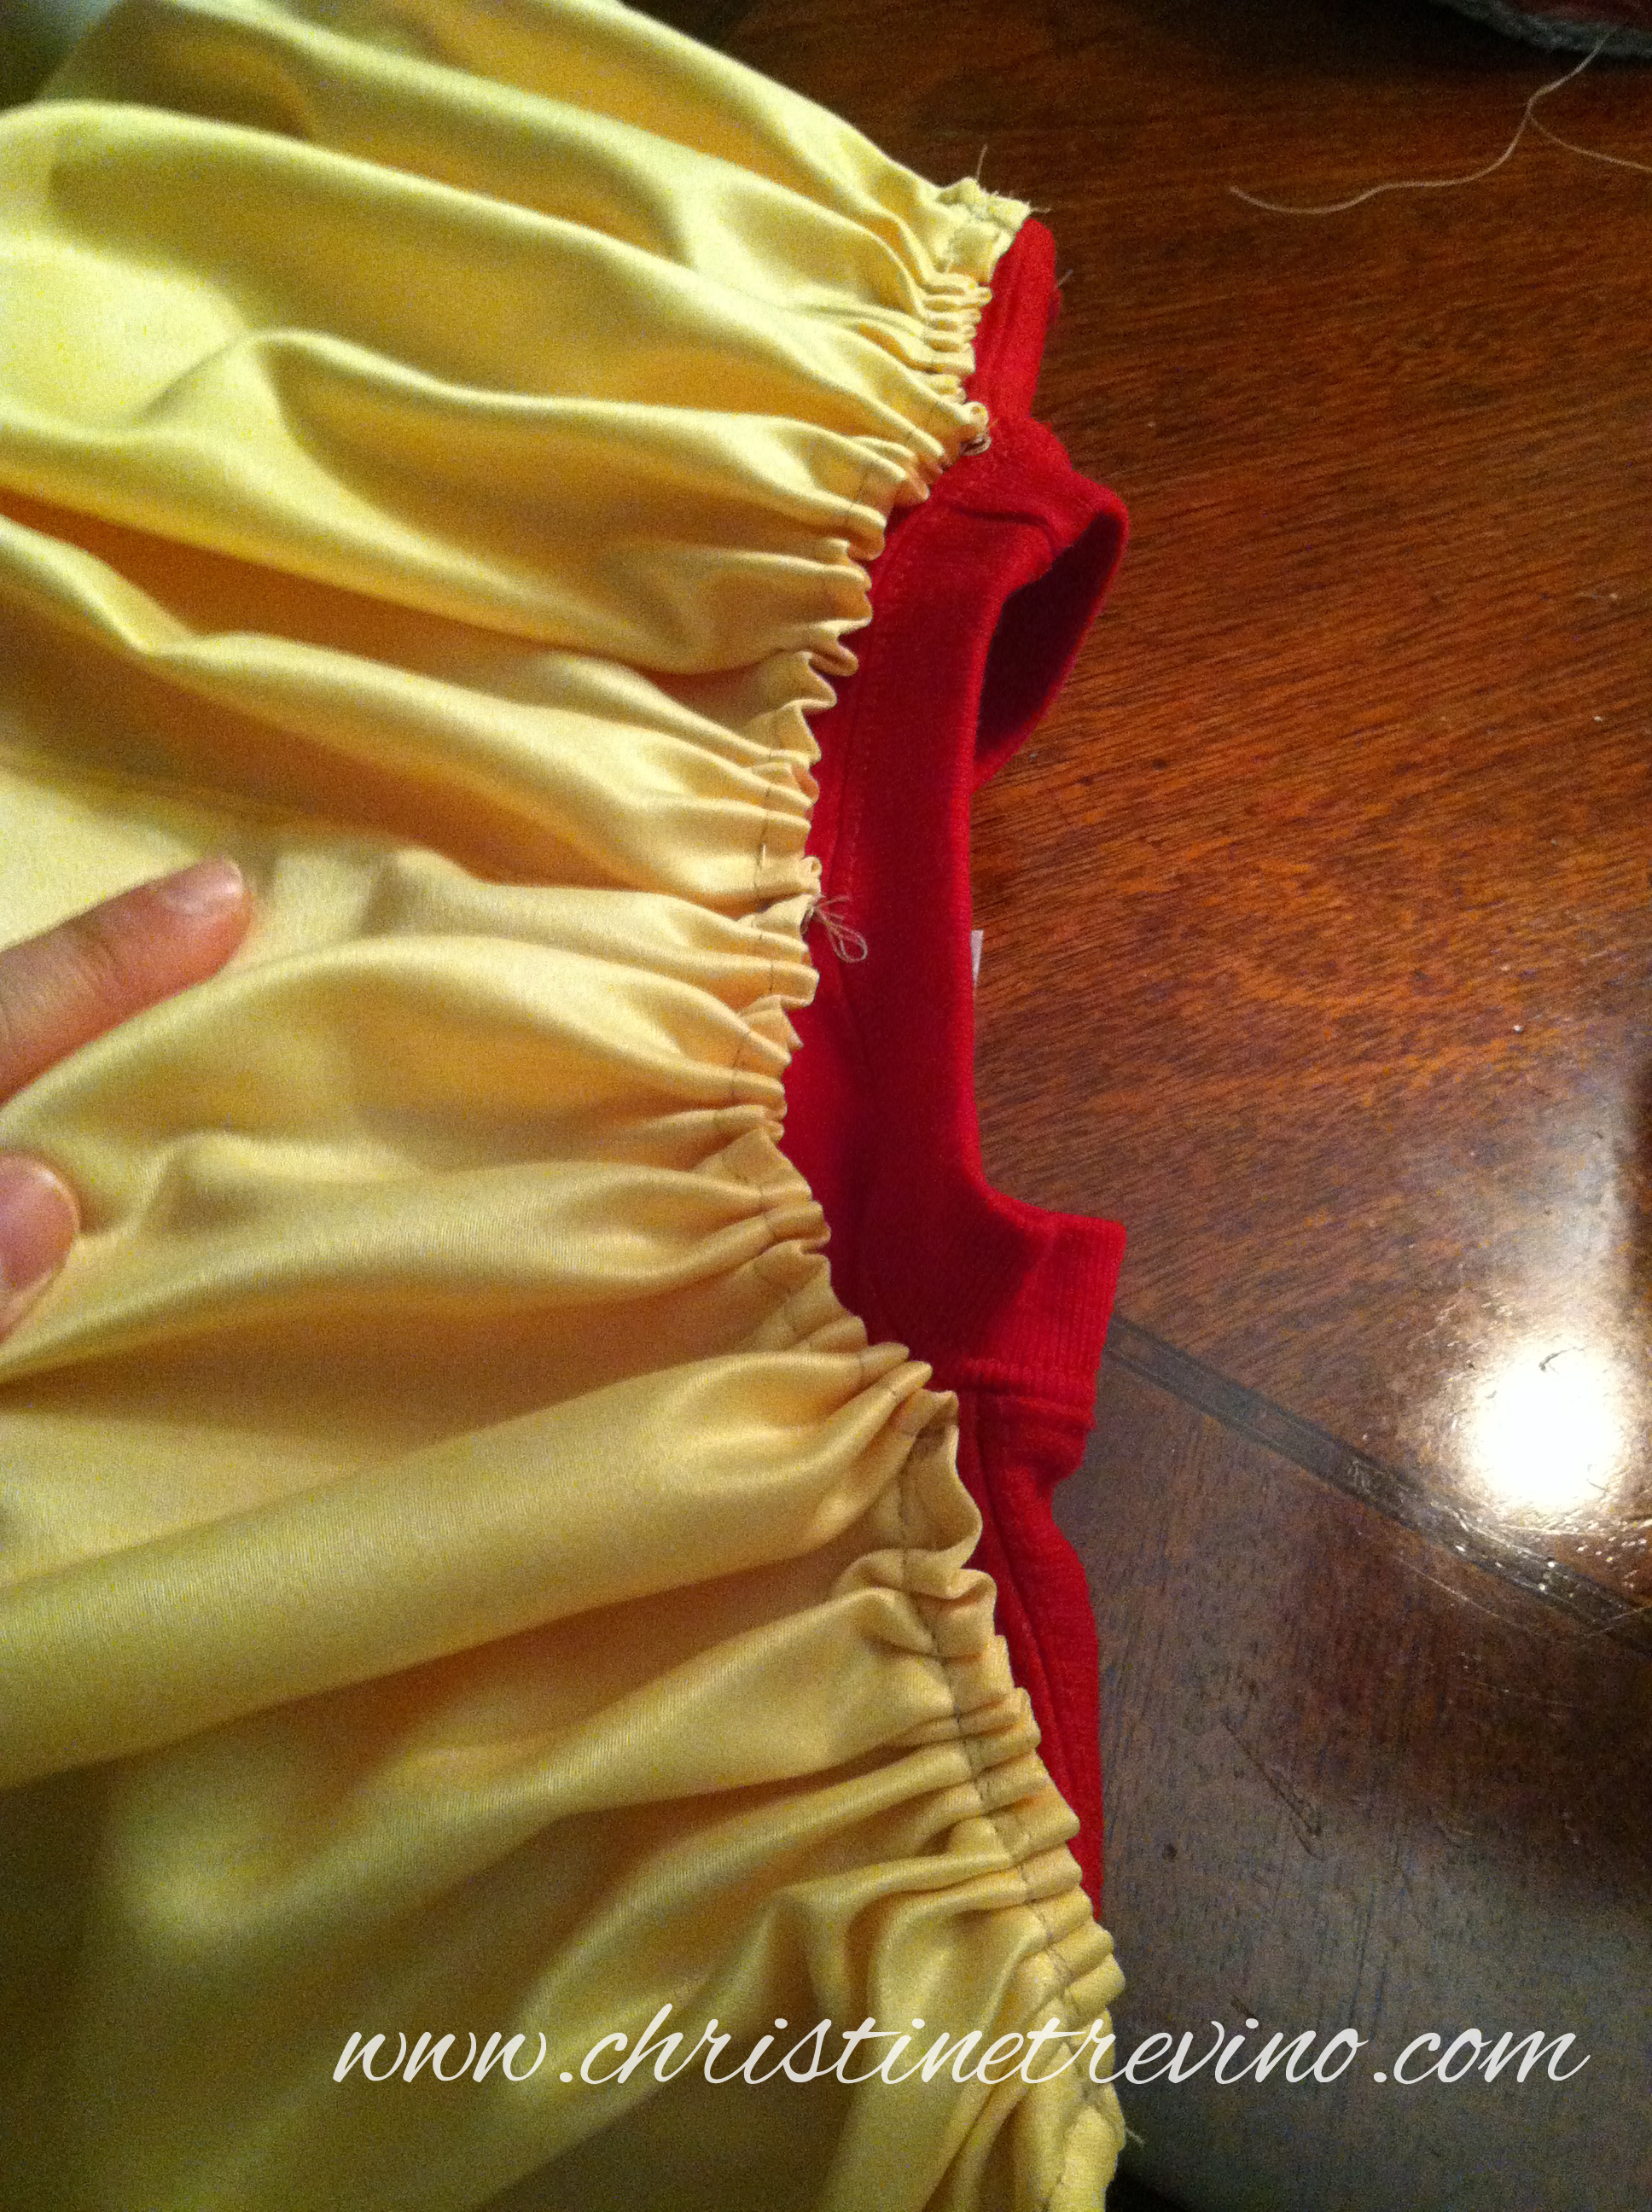
Pin between the end of the shoulder and the end of the neck on both sides of the shirt/sweatshirt and machine stitch the cape to the shirt.
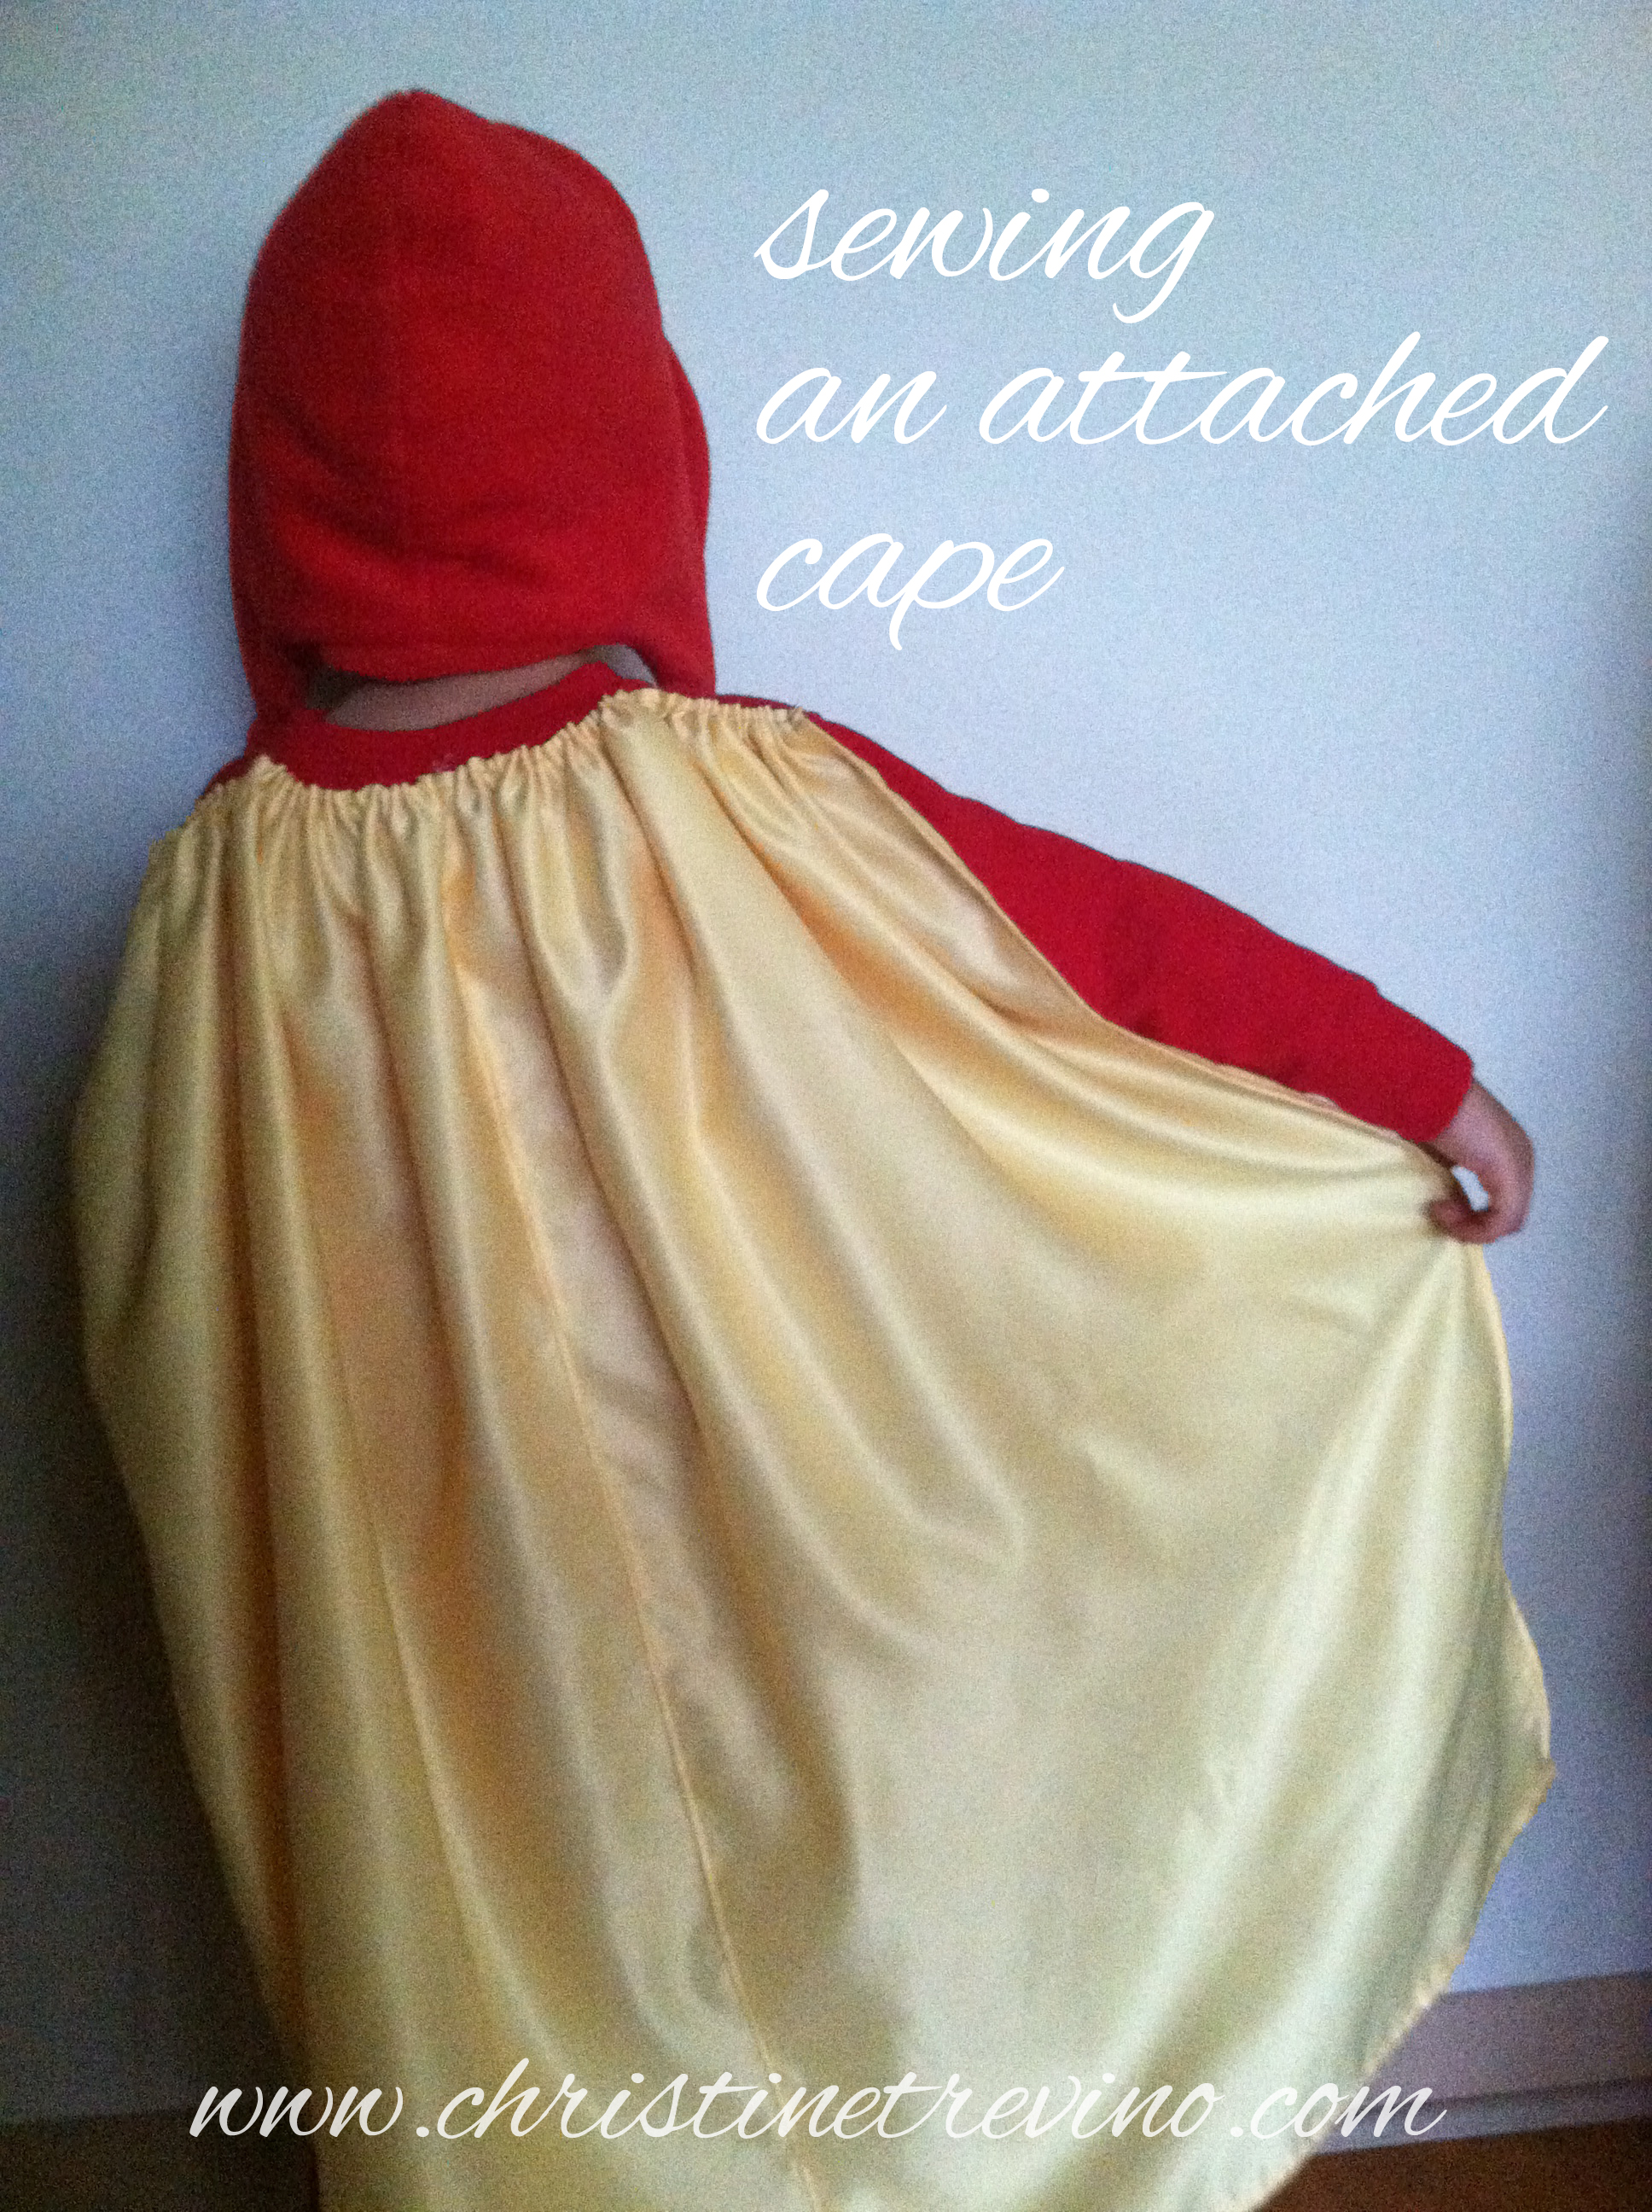
The finished product should look something like this. Note how the cape is attached below the seam lines of the shirt/sweatshirt.
Wouldn’t you know I still haven’t been able to get the little guy to wear this cape/shirt? It would only figure right?
BUT my older son (who you’ll remember is the cape pro) loved this design so much that he actually asked me to retrofit all his old caped costumes. Because this one felt better around his neck.
Ah, the sewing momma’s work is never done . . . but I think I’ll spend my energy directing Elijah’s attention to this years costume :).
Stay tuned for more costume directions over the coming weeks :). Happy creating!!
