Sand Art Brownies | DIY Christmas Gift Jar + Printable Tag
One of my very favorite parts of the Christmas season is gift-giving, and one of my very favorite types of gifts to give is one that’s handmade. Read on for all the details of our Sand Art Brownie Gift Jars – how to make one, how to make a ton, and all the printable tags that go with it!
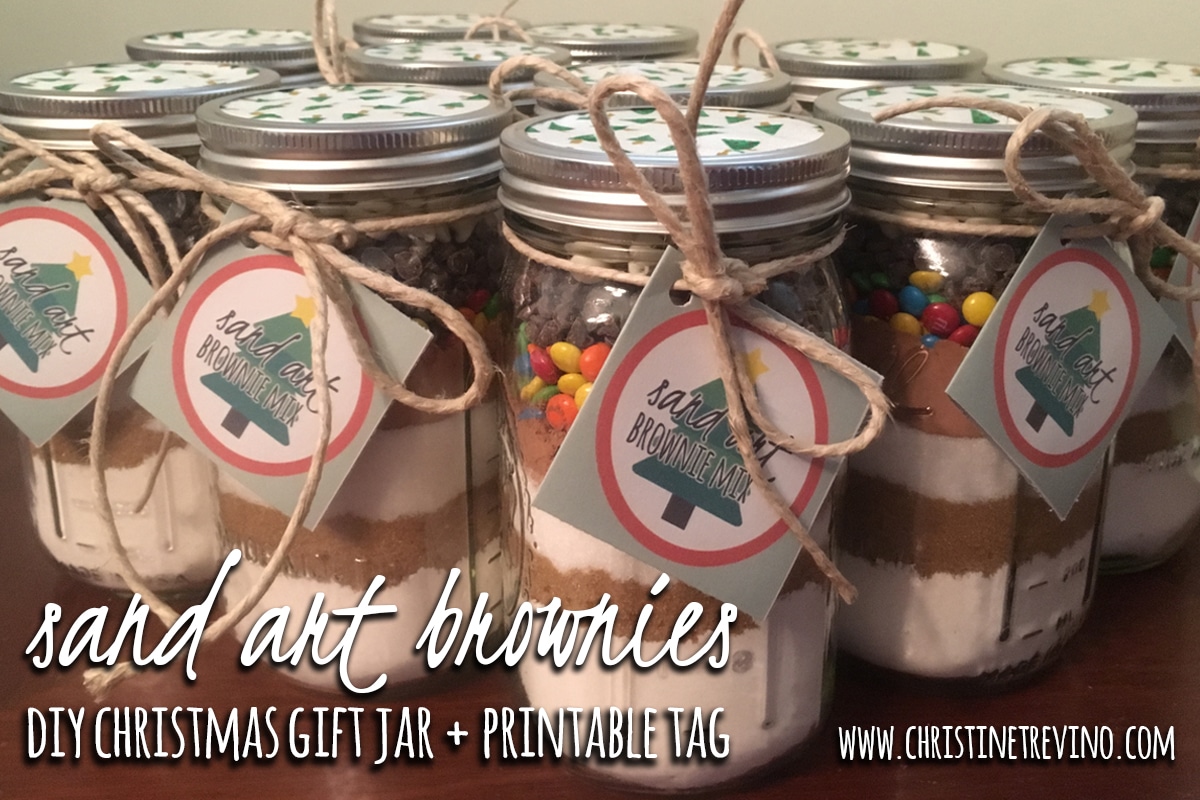
There’s no better time than Christmas to give a handmade gift. Whether it be for a coworker, a teacher, or a friend, handmade gifts are typically more budget friendly options and come with that extra touch of love and thoughtfulness from the giver. We love to incorporate our kids in the process of our handmade Christmas gift-giving which has taught them the value of both a dollar and creative work, and has become one of the most precious memory makers of our holiday season.
Last year we made a ton of Sand Art Brownie Jars for co-workers and friends. Adapting the original recipe from Taste of Home we were able to create beautiful handmade gifts and continue one of our favorite family traditions – something we affectionately refer to as Elf Day.
These jars can be made singly or en masse – and I’ll include directions for both below. Hold tight, this is a long post :). Here’s a quick overview to help you find what you’re looking for:
- Supply List for ONE Jar
- How To Make ONE Jar
- How To Make LOTS of Jars
- How To Make the Brownies
- Printable Gift Tags
Please don’t forget to make a batch for yourself! They are AMAZING!!!
Supply List for ONE Jar
1 quart mason jar
1 cup + 2 tbsp all purpose flour
1/2 tsp salt
2/3 cup packed brown sugar
2/3 cup sugar
1/3 cup baking cocoa
1/2 cup mini M&Ms
1/2 cup chocolate chips
1/2 cup white chocolate chips
Swatch of Christmas fabric
Hemp rope or ribbon
Printable Gift tags
(PDF downloads are included at the end of the post)
How To Make ONE Jar
[1] Wash mason jar and let it dry completely. (No drips or spots!)
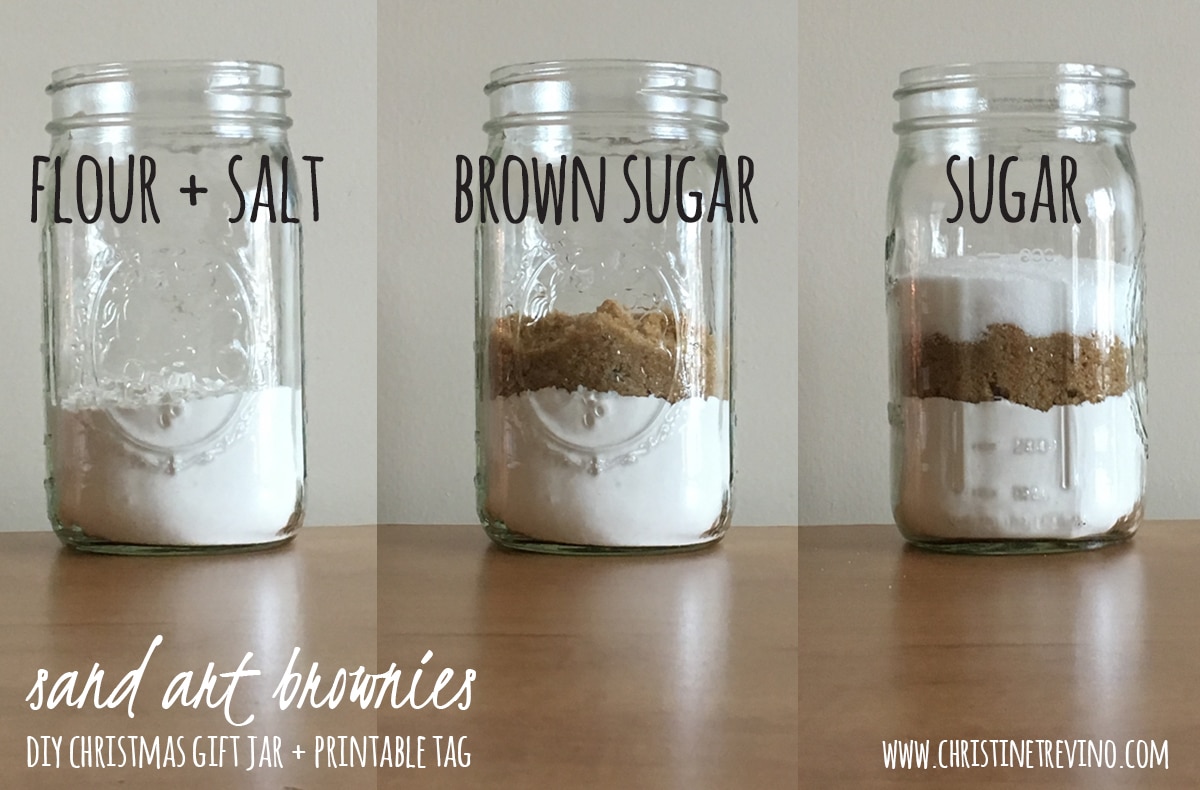
[2] Mix 1 cup + 2 tbsp all purpose flour and 1/2 tsp salt and layer at the bottom of the jar.
[3] Add 2/3 cup packed brown sugar.
[4] Add 2/3 cup sugar.
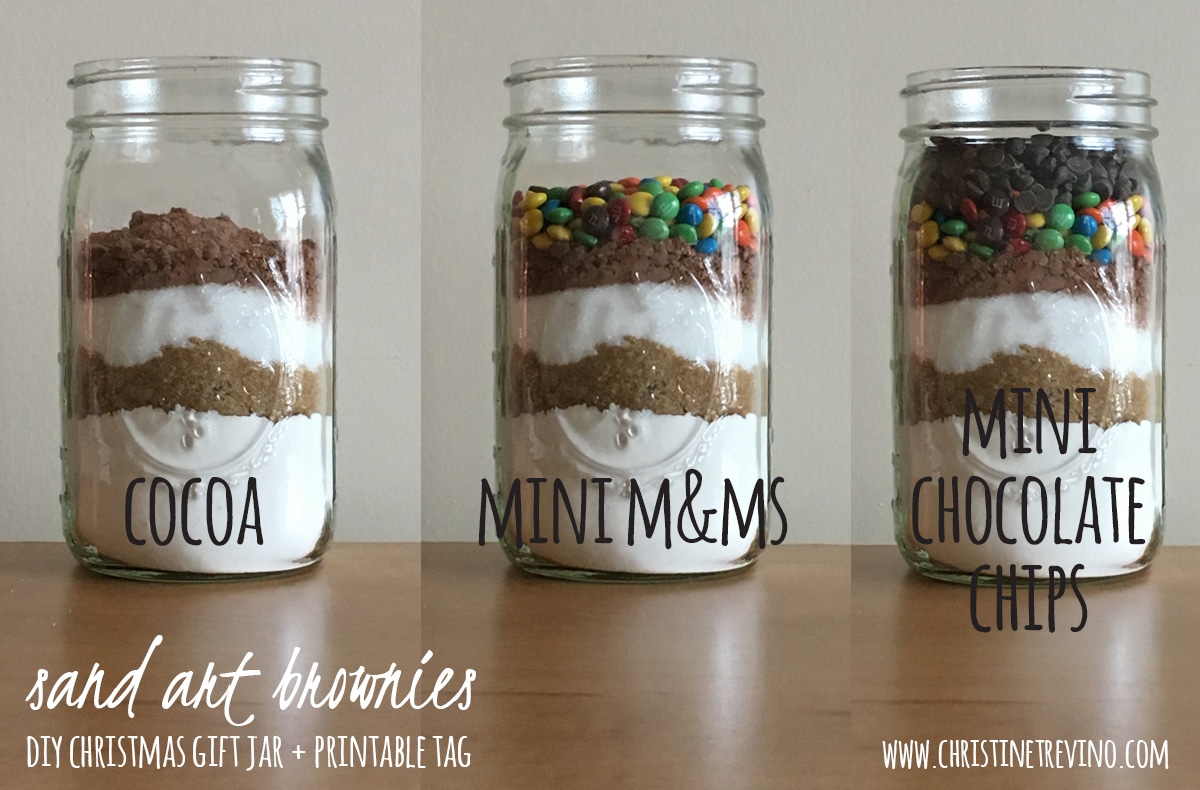
[5] Add 1/3 cup baking cocoa.
[6] Add 1/2 cup mini M&Ms.
[7] Add 1/2 cup mini chocolate chips.
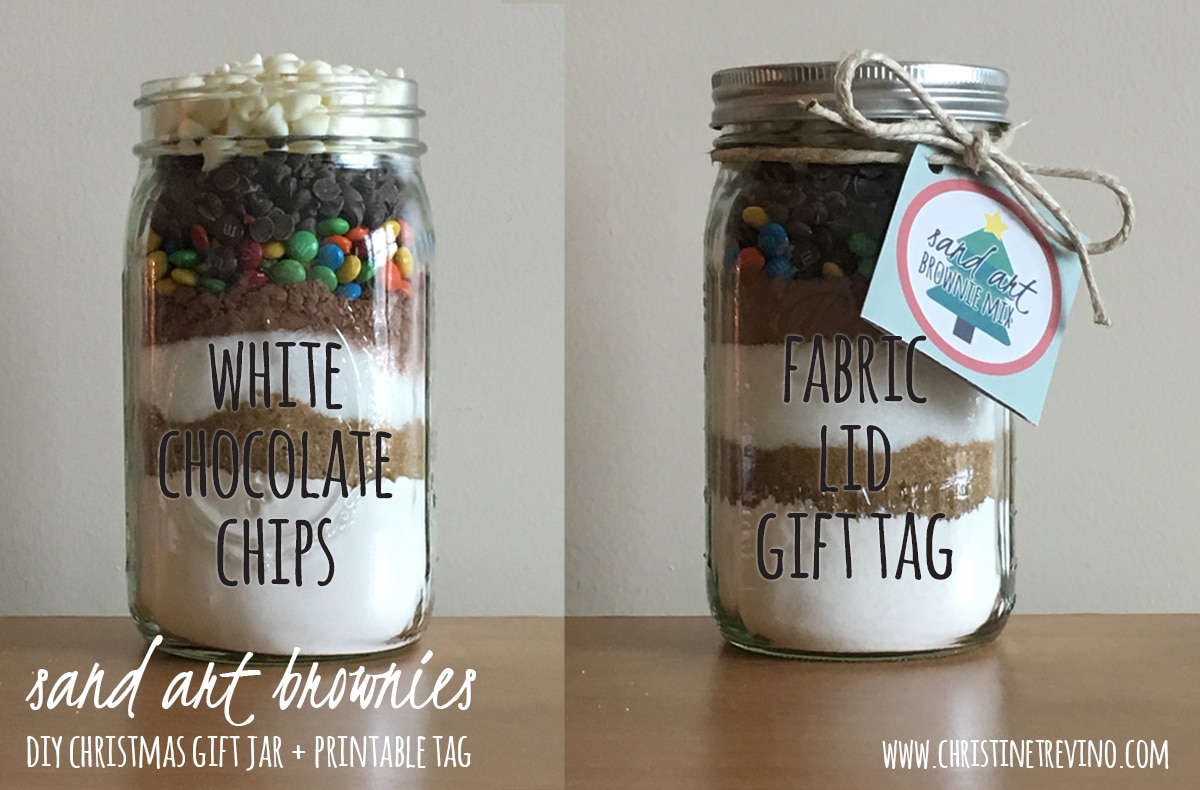
[8] Add 1/2 cup white chocolate chips.
[9] Cover with the lid of the jar (you may need to smash it down a tad), add a swatch of Christmas fabric to the top, and screw the ring to the jar on.
[10] Add a gift tag with hemp or ribbon.
How To Make LOTS of Jars
When you’re looking to make several of these jars at the same time, a production line is key. Do each task for all the jars at once. Enlist a few friends to help and these will be finished in no time at all!
Project Prep
[1] Purchase supplies according to the list above TIMES the number of jars you plan to make.
[2] Wash ALL the mason jars and let them fully dry.
[3] Cut circles out of Christmas fabric.
[4] Print gift tags (PDF downloads below).
[5] Set up production line stations.
[6] Assemble jars.
Production Line Stations
When it came time for my family to make our Elf-Day jars, we set up five different stations. Everyone was responsible for something and by the time each jar had made it’s way down the line it was finished ;).
Set out all the supplies at each station with a card that gives a brief description of what each person in your production line should do (you’ll see an example with each of the pictures below). A plain piece of white paper is SUPER helpful in getting some of the contents into the jar. After each picture I’ve included the supply list for each station.
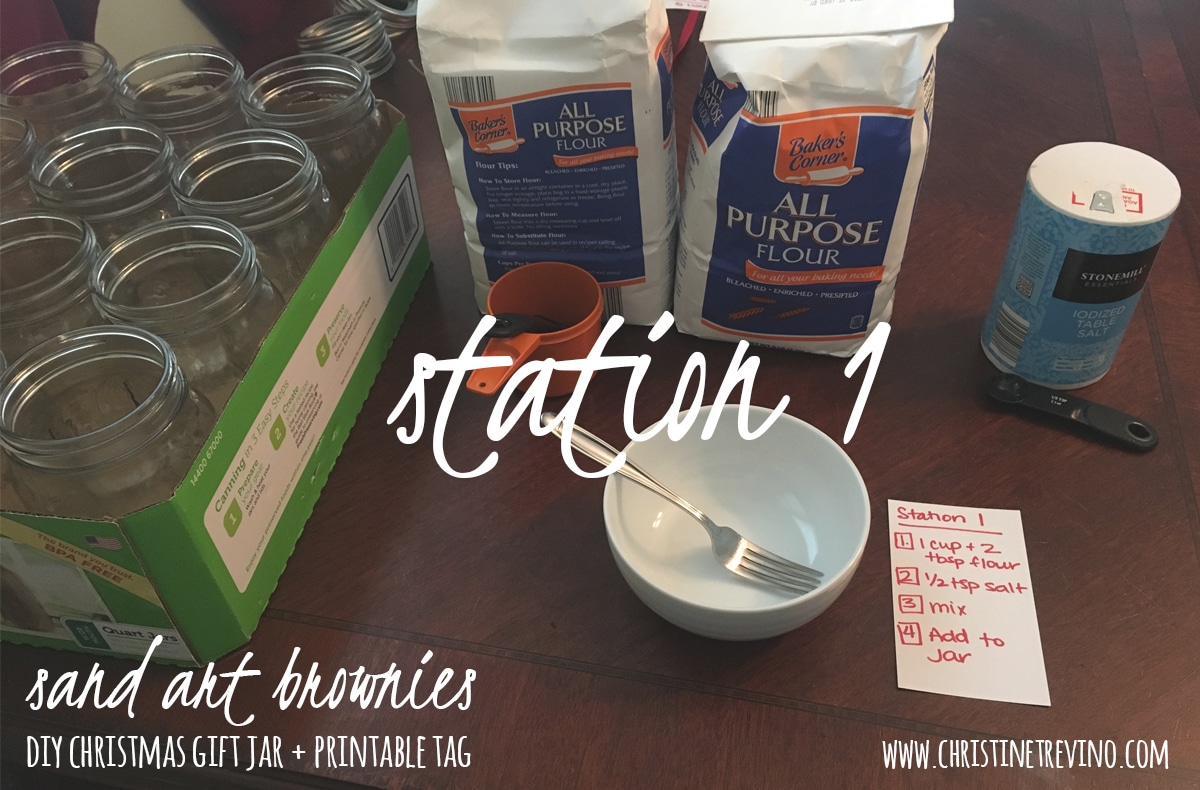
Jars
Flour
Salt
1 cup measuring cup
1 tbsp measuring spoon
1/2 tsp measuring spoon
Bowl
Fork
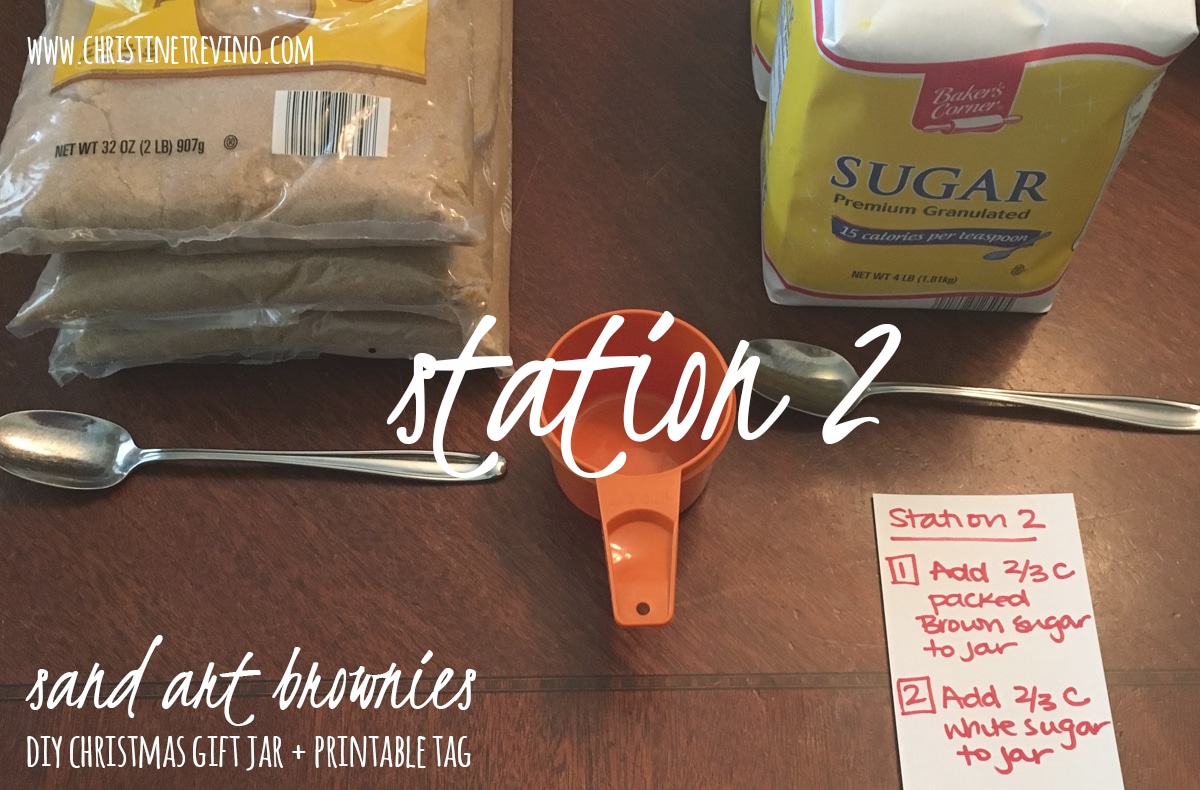
Brown Sugar
White Sugar
2/3 cup measuring cup
2 spoons
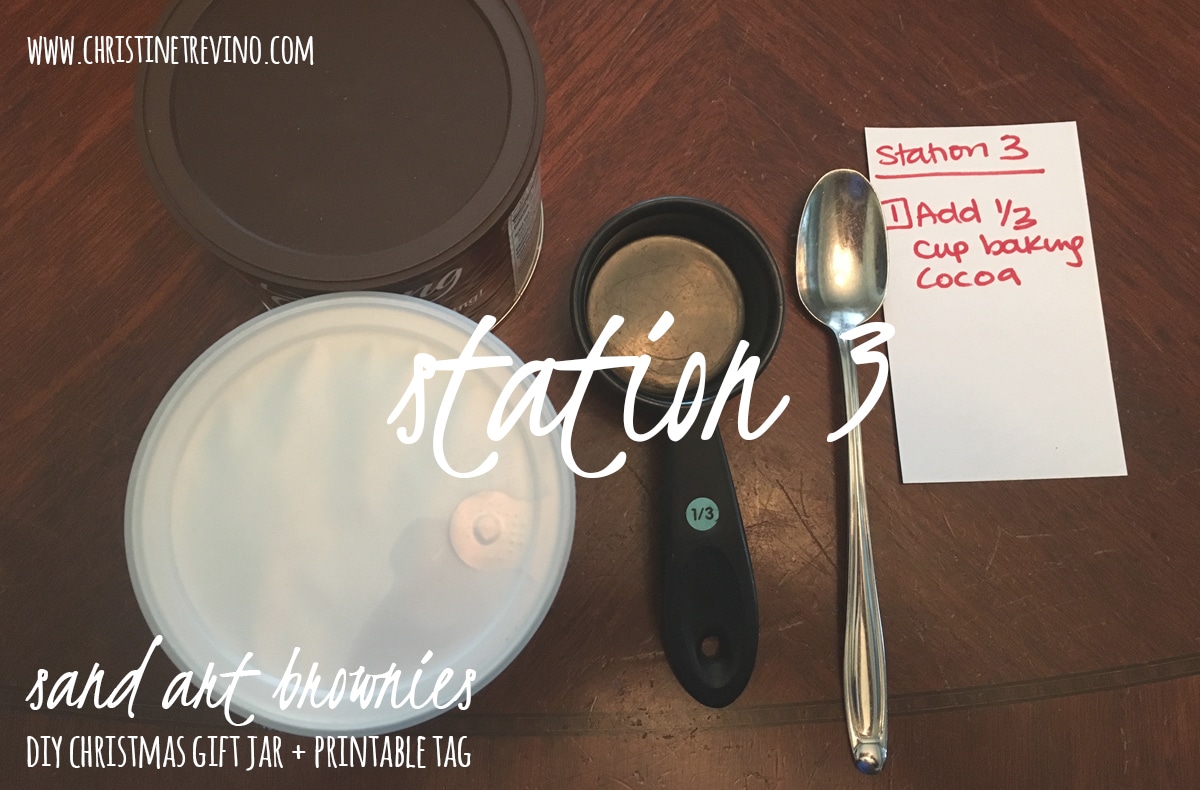
Baking Cocoa
1/3 cup measuring cup
Spoon
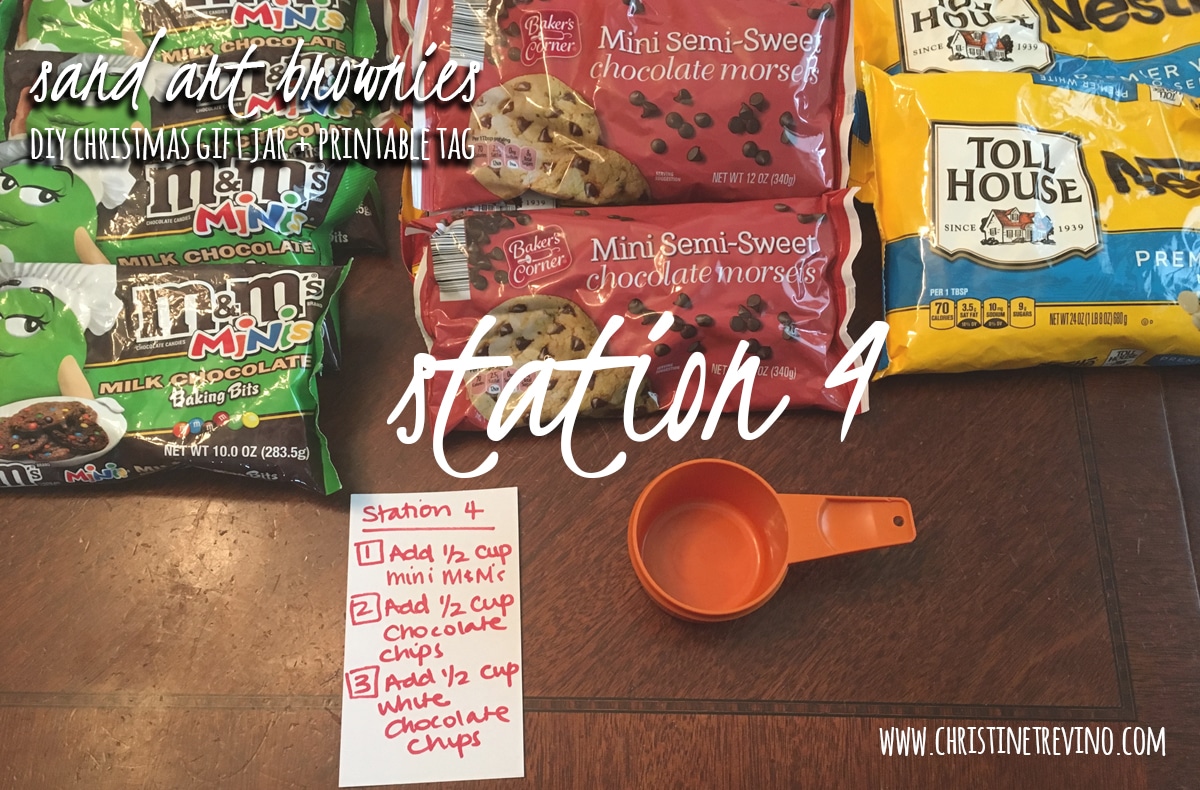
Mini M&Ms
Mini Chocolate Chips
White Chocolate Chips
1/2 cup measuring cup
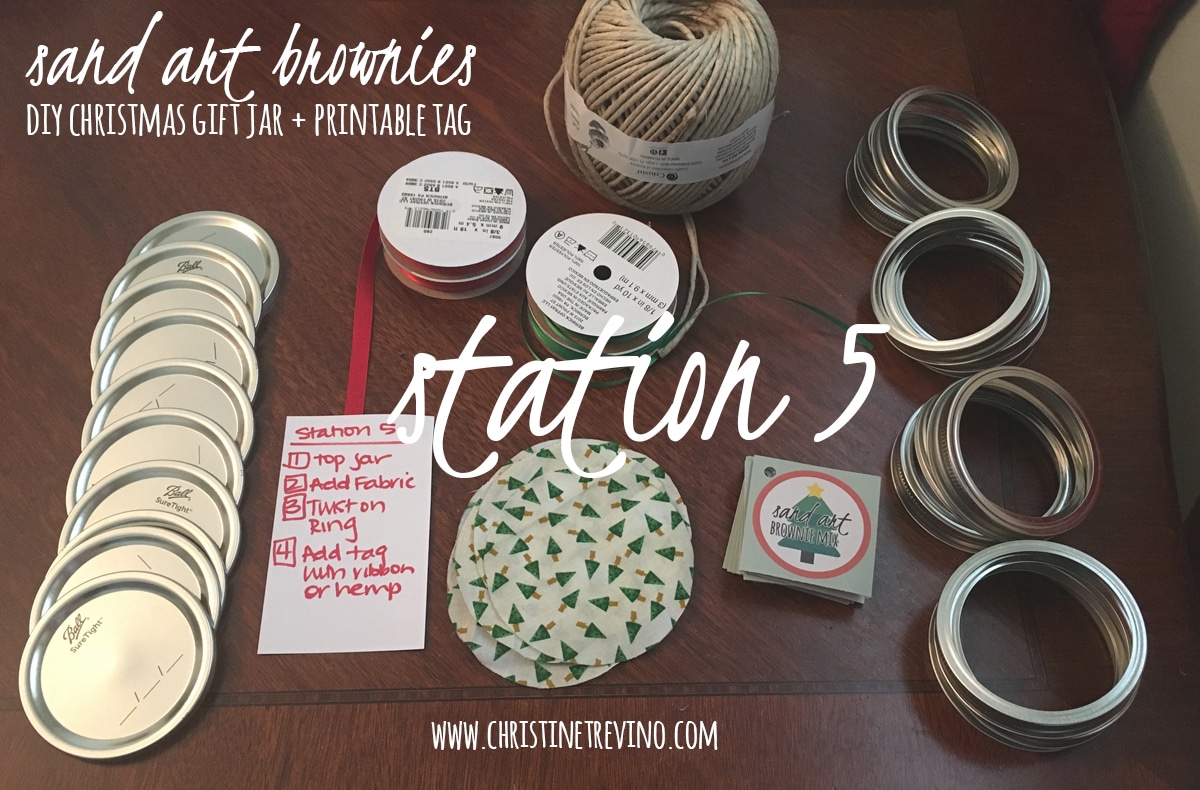
Jar tops
Cut circles of Christmas fabric
Printed, cut, folded, and hole punched gift tags
Jar rings
Hemp or ribbon
How To Make the Brownies
Preheat oven to 350F.
Prepare a 9″ square baking pan with cooking spray.
Whisk 3 eggs, 1/3 cups canola oil, and 1 tsp vanilla extract in a bowl.
Add brownie jar to the bowl. Stir until blended.
Spread brownie batter into the pan
Bake 25-30 minutes or until a toothpick inserted near the center comes out clean.
Cool on a wire rack and enjoy!
Printable Gift Tags
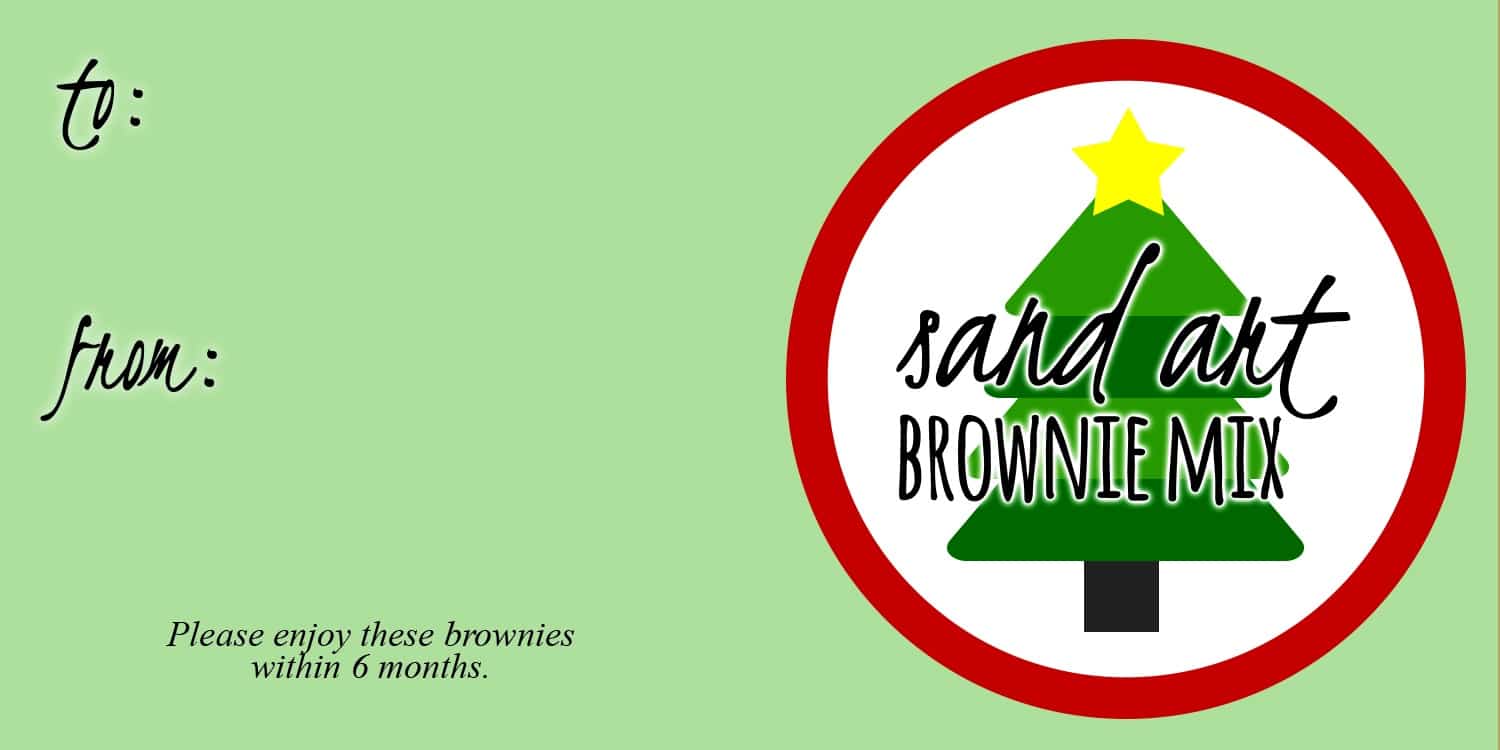
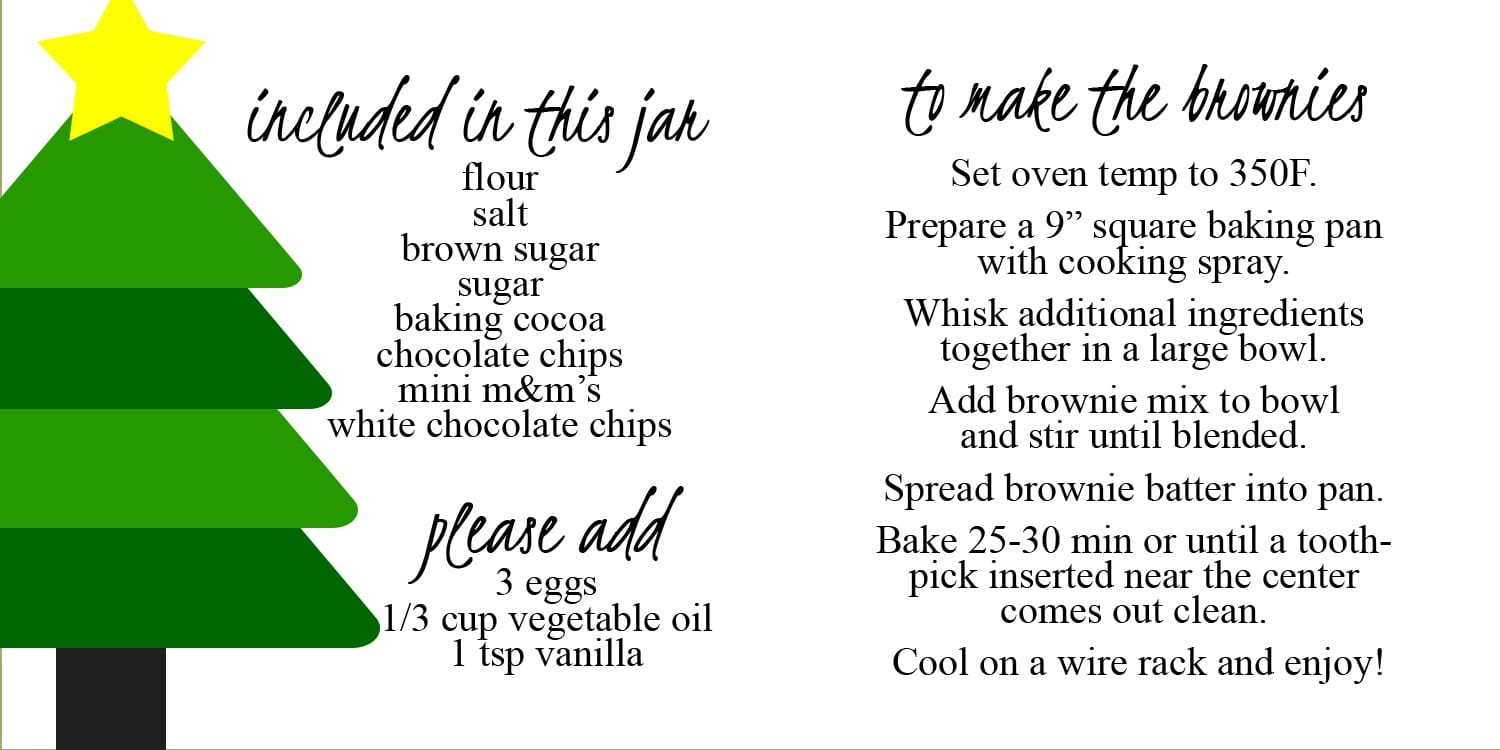
Each PDF has 3 tags per page. Print tags front and back on a single piece of cardstock.