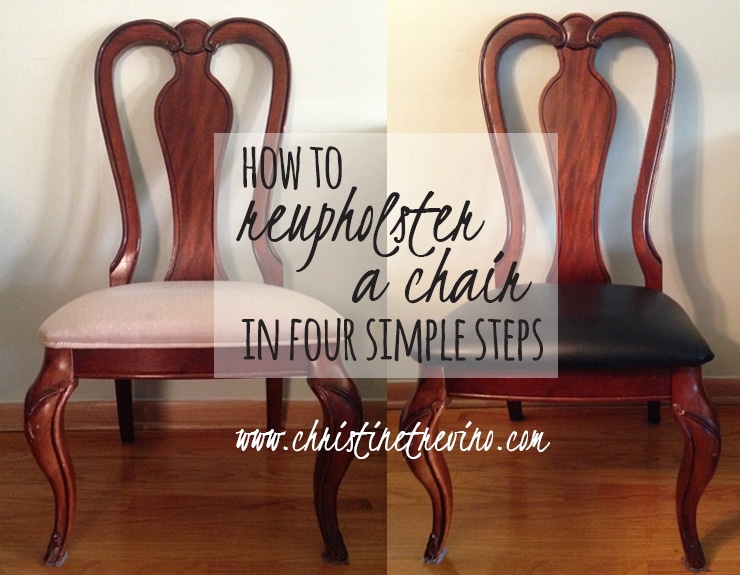
How to Reupholster a Chair in 4 Simple Steps
One of the greatest finds of last summer was a used Bordeaux Louis Philippe 5 piece dining room set for $175. The table was in great condition (complete with leaves!), and although the seat cushions of the chairs were stained, I was beyond ecstatic to trade up for a complete set. With an additional $50 investment in fabric and supplies we were able to quickly and easily transform our secondhand chairs into beautiful and useful pieces of furniture for our home. In exchange for our time spent garage sale-ing and reupholstering, we were able to save over $775 on a brand new dining room table and chairs (if and when you can find that particular set on sale)!
Reupholstery is easy.
All you need is new fabric, interfacing, and a few common household tools. We reupholstered all four chairs with wipeable synthetic leather fabric in two evenings, and discovered the process to be unbelievably simple. So the next time you’re looking to buy second-hand, or get the itch to freshen up your existing chairs, take a look at this tutorial on how to reupholster a chair in four simple steps.
What you need
- Fabric
- Interfacing
- Staple gun
- Flat head screw driver
- Phillips screw driver
- Extra screws
- Pliers
- Scissors
- A friend
Step One | Disassemble the chair
Most wooden chairs are made of several pieces screwed or bolted together. Unscrew the seat of your chair from the frame. Remove any old interfacing and trim from the bottom of the seat as well as any loose staples. If you’ve chosen a fabric that is completely opaque and/or darker, leave the original fabric on to keep the shape of the cushion. In step two you’ll reupholster right over it.
Step Two | Attach the new fabric
Measure the widest and longest sections of the seat you are looking to cover (over the top of the cushion from base to base) and add a few inches on all sides to ensure sufficient fabric for each chair.
Once the fabric is cut, borrow your friend for resistance and staple gun the new fabric to the base of the chair, pulling taunt on all sides.
Each chair seat should be stapled the same way. We stapled ours in the following order:
- Back flat edge
- Front rounded edge
- Front corners
- Sides
- Back corners
Step 3 | Attach the interfacing
Measure interfacing according to the length and width of each seat base. Turning the edges of the interfacing under (leaving a small even space between the edge of the interfacing and the edge of the covered chair base) staple gun the interfacing to the bottom of the chair to create a finished, professional look.
Step Four | Reassemble the chair
Depending on the thickness of your fabric, it is possible you may need to find slightly longer screws to reassemble your chair. Place the reupholstered chair seat on the frame and have one person sit to add pressure while the other person screws the two pieces back together.
It really is that simple.
So simple, we wish we would have tackled the project sooner :).


