How to Print your Schedule Board to GATOR BOARD through C2 Imaging
C2 Imaging is a national printing company known for their creativity and innovation. While I do not receive any commissions from recommending them, I do so wholeheartedly because they provide customers with unique applications of my Schedule Board prints (such as the sturdy dry-erase laminated Gator Board featured in this post) at a really affordable price.
To help make your experience a success, I’ve listed answers to some frequently asked questions and included a tutorial with step-by-step instructions showing how to upload the design file included with the purchase of your Schedule Board to the C2 Imaging website. At your request, they will print your Schedule Board directly to dry-erase laminated Gator Board.
Frequently Asked Questions
What is Gator Board?
Gator Board is a type of display board with a dense inner core made of foam and a rigid exterior made of wood-fiber veneer. This exterior is water resistant and will not easily break or warp.
When you order through C2 Imaging, your Schedule Board will be printed directly to 3/16″ white Gator Board and sealed with a dry-erase lamination so that you can use dry erase markers directly on the surface of the board.
Why would I choose to print my Schedule Board on Gator Board?
Gator Board is a great option for classrooms and offices because the price point is a bit lower than ordering a poster print plus a 24″ X 36″ frame to fit. The finished product is also significantly lighter and easier to move around if you’re looking for a more mobile option (between meeting rooms or classrooms).
How much does it cost?
A 24″ X 36″ dry-erase laminated Schedule Board printed on Gator Board (with panels for hanging) is available with C2 Imaging for $44 + tax and shipping. Ordering instructions are included in the second half of this post.
How do I hang it?
Each print is outfitted with panels on the top and bottom of the reverse side of the board for ease of hanging. All you’ll need to do is punch a hole in the back top panel and hang the board on a nail or screw in the desired location.
The dimensions of the panels for Combination Schedule Boards are 2″ X 23″, and dimensions for Weekly and Monthly Schedule Boards are 2″ X 35″ each.
How do I clean it?
Wiping with a dry eraser or paper towel is sufficient for simple schedule changes, but it is recommended to periodically wipe the board down with warm soapy water, window cleaner, or peroxide to keep it looking fresh and clean.
Please do not clean your Schedule Board with any wax-based products.
How to Order your Gator Board Print
Ordering your Gator Board print is easy with C2 Imaging. The sales representative assisting Schedule Board customers is Melisa Zucaro. She will be your primary point of contact in this process and is happy to answer any additional questions you may have.
[1] Navigate to C2 Imaging’s file upload page [HERE].
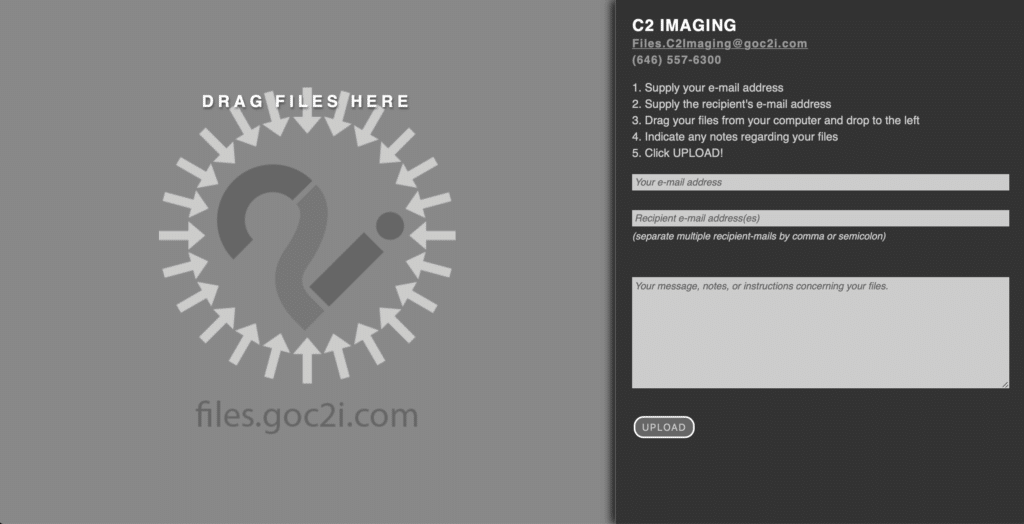
[2] For any 24″X36″ Schedule Board, include YOUR email address and a RECIPIENT email address.
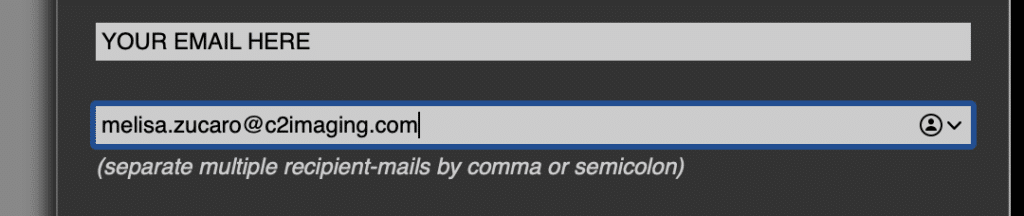
Include Melisa’s email address (melisa.zucaro@c2imaging.com) in the RECIPIENT email line.
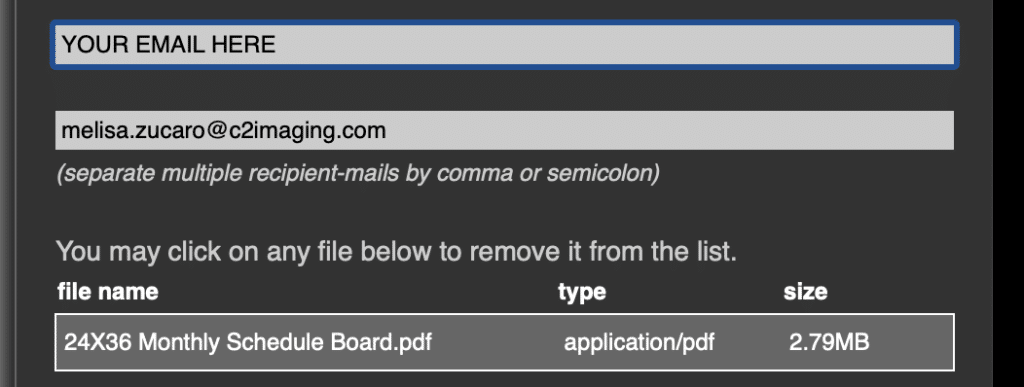
[3] Drag your saved Schedule Board design file to the gray area at left marked “DRAG FILES HERE.”

Once you’ve dropped the design file for your Schedule Board into the gray area at left, it will appear on the right side of the screen beneath the email fields.
[4 – WEEKLY & MONTHLY SCHEDULE BOARDS] Indicate the following notes in the message portion of the upload screen:
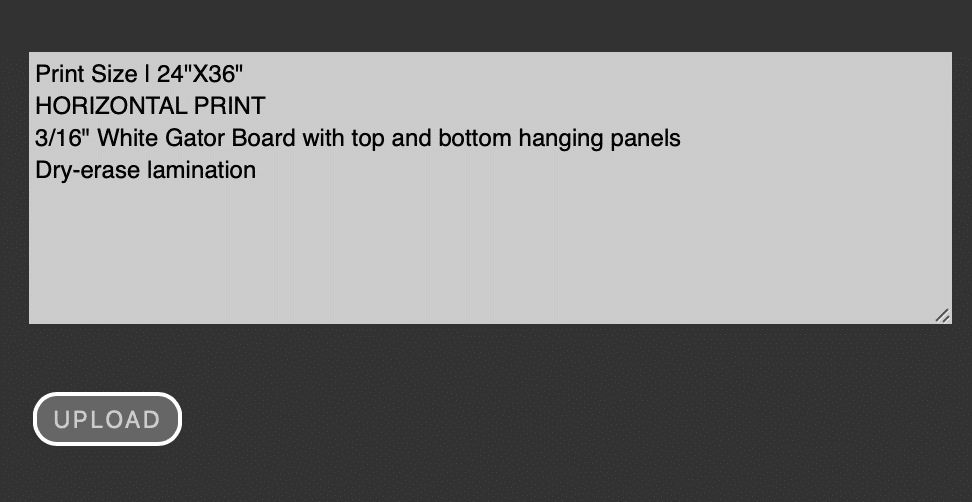
- Print Size | 24″X36″
- HORIZONTAL PRINT
- 3/16″ White Gator Board with top and bottom hanging panels
- Dry-erase lamination
Please note that the actual size of any Schedule Board design file is 24.5” X 36.5” to accommodate a standard 0.25” full bleed margin on all sides. The final print you receive from C2 Imaging will be 24” X 36”.
[4 – COMBINATION SCHEDULE BOARDS] Indicate the following notes in the message portion of the upload screen:
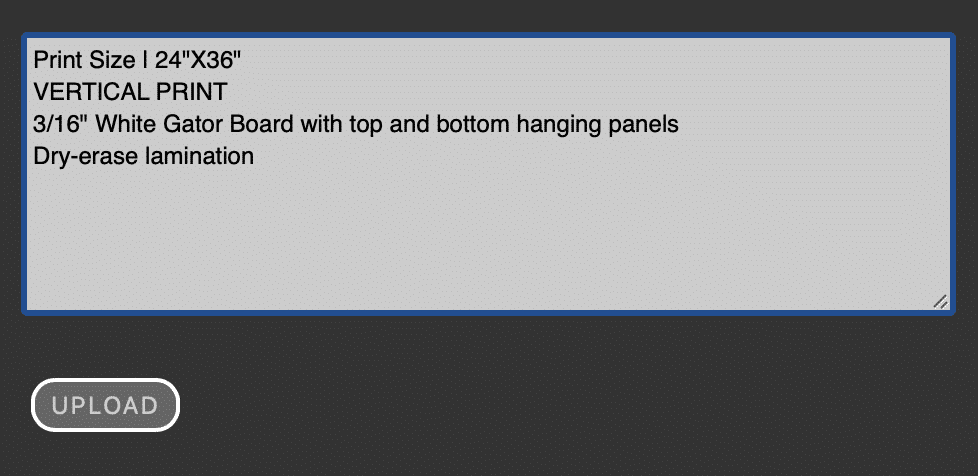
- Print Size | 24″X36″
- VERTICAL PRINT
- 3/16″ White Gator Board with top and bottom hanging panels
- Dry-erase lamination
[5] Click the upload button.
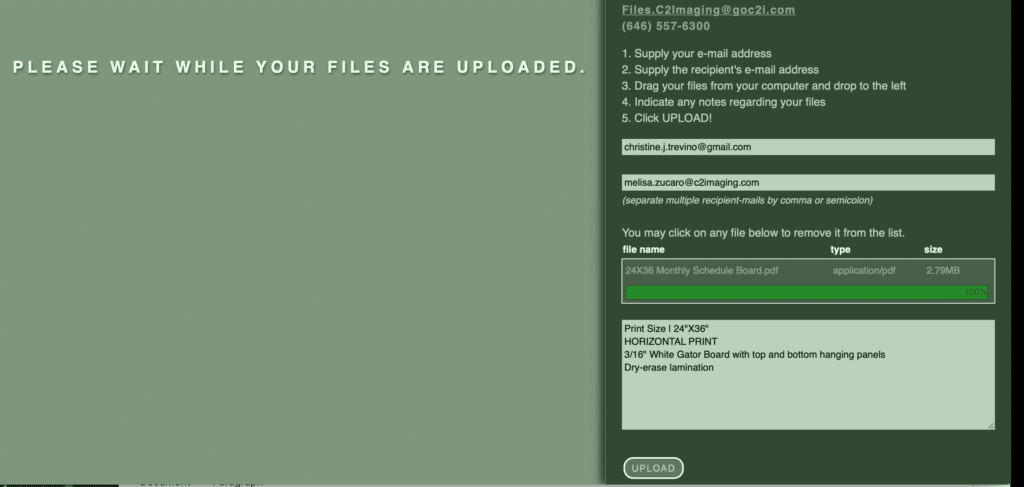
You will be directed to wait while the files are being uploaded. The green bar beneath the file name will show the progress of the upload.
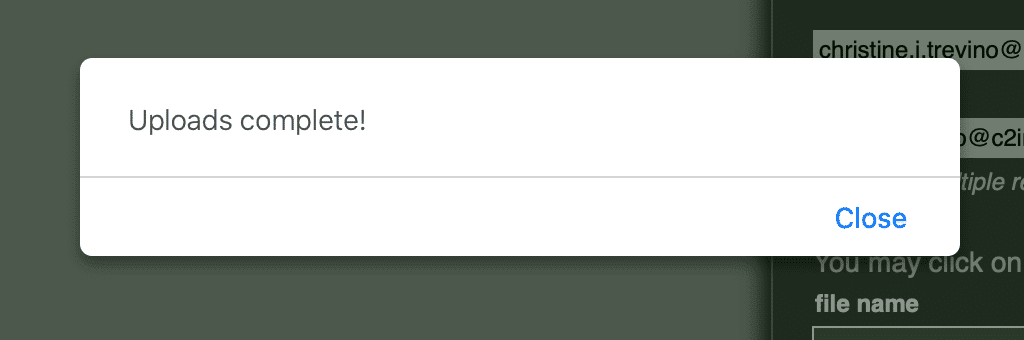
Once the file has uploaded, hit the blue “Close” link.
[6] After your file has been submitted…
- Melisa will receive an email that you’ve uploaded your Schedule Board design file and will forward your order onto the prepress team for a PDF proof.
- Once your proof is ready, Melisa will contact you for approval, credit card, and shipping information.
- After you’ve paid, your Schedule Board will be printed and shipped.