Elevated Pencil Case for Beginners
The best way to get better at anything is to practice. Read on for step-by-step instructions on how to elevate your sewing skills by adding accent fabric to a standard pencil case.

Project Prep
For every project you will need a canvas pencil case and two cuts of accent fabric (one for external detailing and one that will serve as the lining). When selecting thread, choose a color that matches the pencil case and highlights a color in the accent fabric as some seams will create visible sewing lines.
What You Need
general sewing SUPPLIES
- Fabric scissors
- Thread
- Yardstick
- Permanent marker OR tailors chalk
- Sewing machine
- Sewing needle

Project supplies
- 6″ x 9″ zippered canvas pencil case
(I used the Natural Canvas Zipper Pouch from Hobby Lobby) - 13″ x 3″ piece of accent fabric
- 9 1/4″ X 12 1/2″ piece of accent fabric
How to Make it
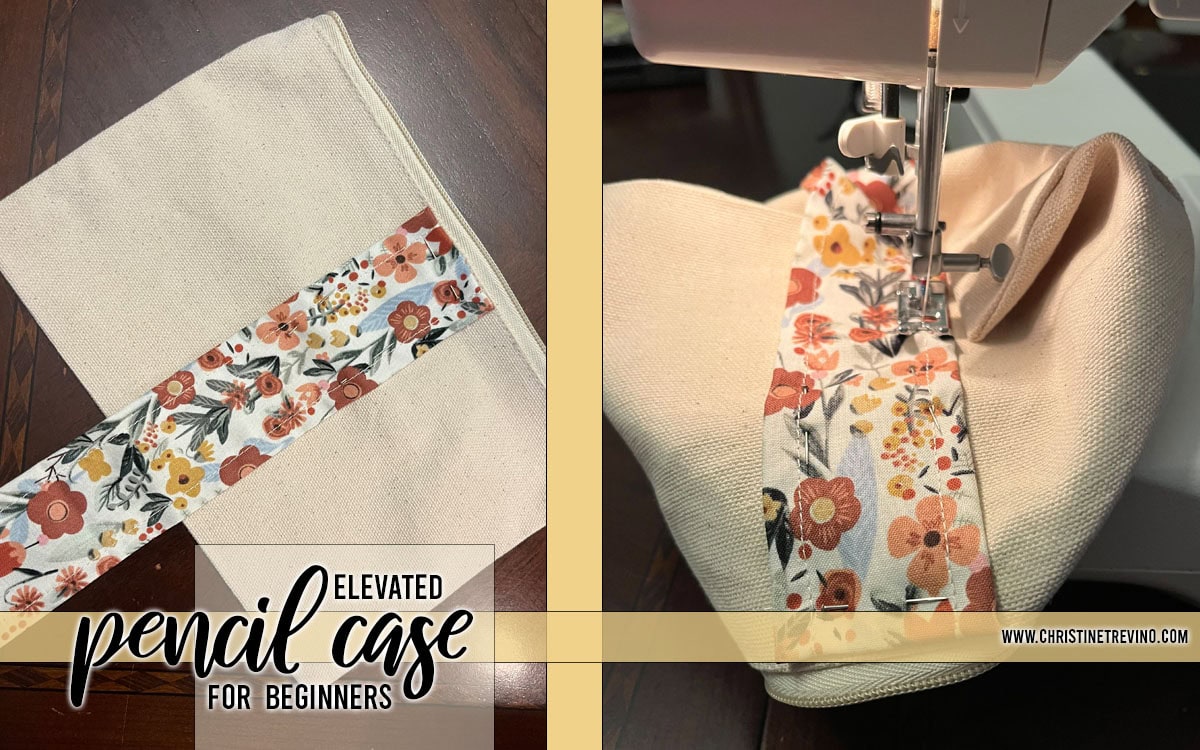
[1] Using the yardstick and permanent marker (or tailors chalk), measure, mark and cut the pieces of accent fabric.
[2] Take the 13″ x 3″ piece of accent fabric and run a 1/4″ seam along the long sides. Fold the 3″ edge of the accent fabric under to finish and pin in line with the top of the pencil case on both sides. Pin the 13″ sides to the middle of the pencil case and sew the small accent piece in place.
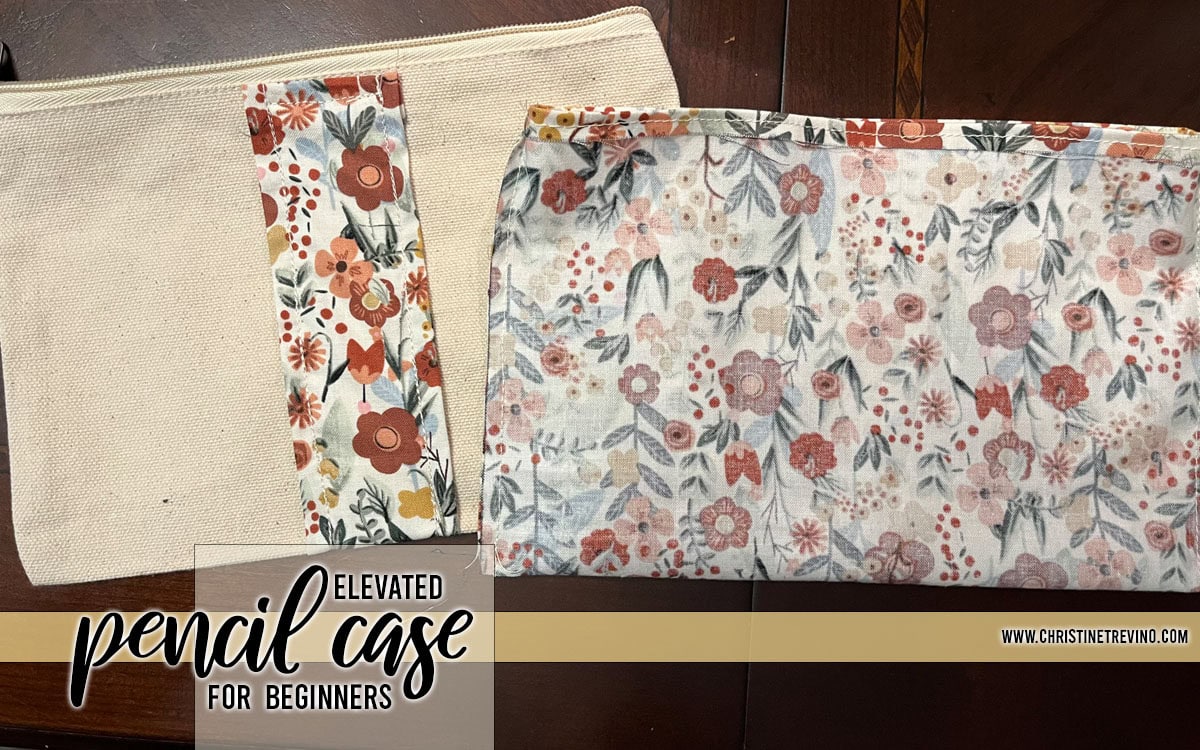
[3] Take the 9 1/4″ X 12 1/2″ piece of accent fabric and fold it in half, right side in. Make a 1/4″ seam on both of the short sides. Run a 1/4″ seam along the top of the lining to finish the visible edge.
[4] Place the liner inside the pencil case, pin to the top and sew in place.
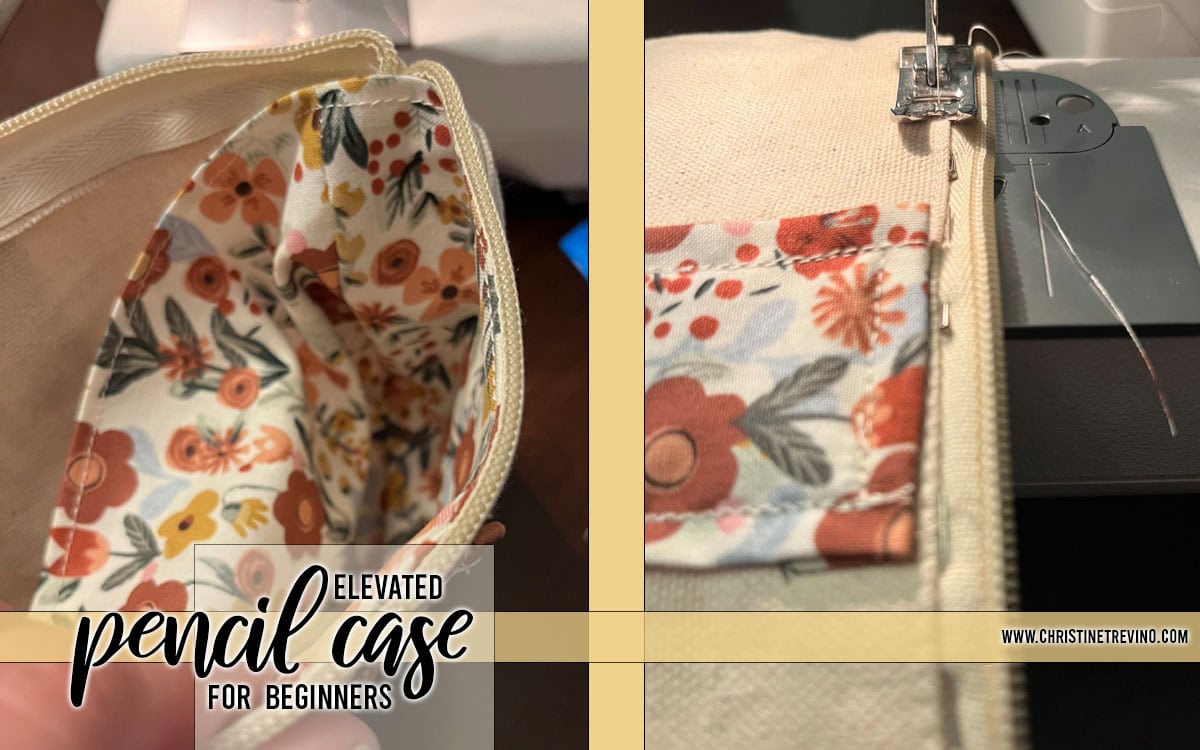
[5] The sewing machine will not get close enough to the beginning and end of the zipper (on each side) to finish the piece off. You will need to use a sewing needle and thread to hand stitch the liner to the pencil case at the edges.
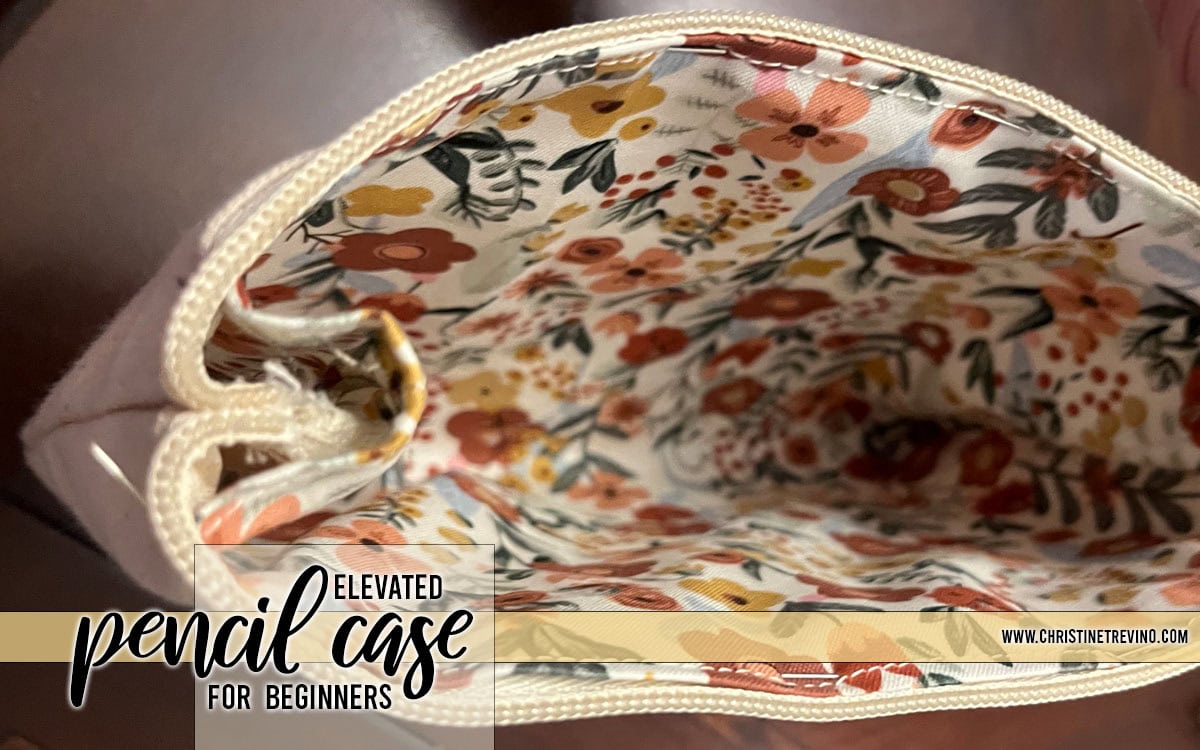
All done!
Grab your favorite writing utensils, zip them in your case and toss in your bag to go!