DIY Pen Blossoms
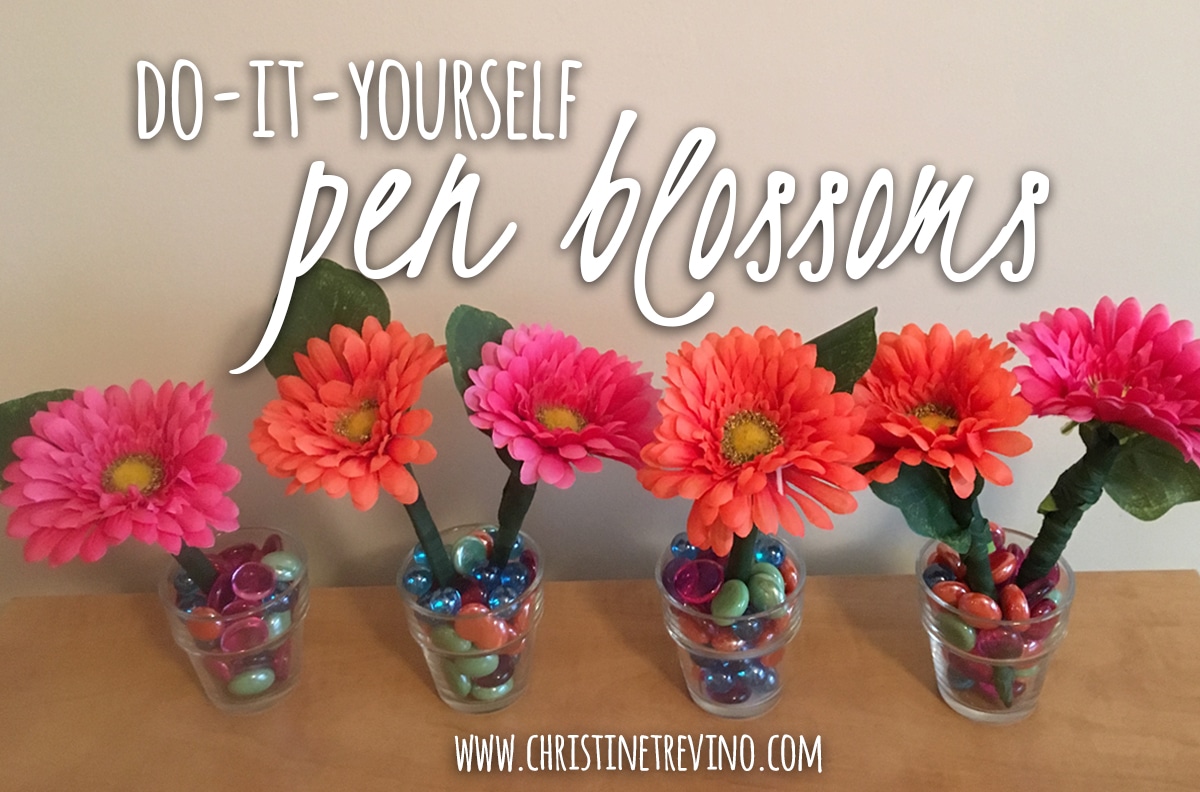
DIY Pen Blossoms are a quick simple spring craft (great for Easter or Mother’s Day) that practically brightens any room. Read on for step-by-step instructions and ideas on how to personalize your own.

With Easter right around the corner, and the desire to spread a little warmth and spring cheer, the boys and I made some really simple inexpensive pen blossoms to share for a school service project. This is a quick craft that little hands can do all on their own, and adds a really practical splash of color for an office desk, hospital room, or nursing home.
Decorating Ideas
[Simple]
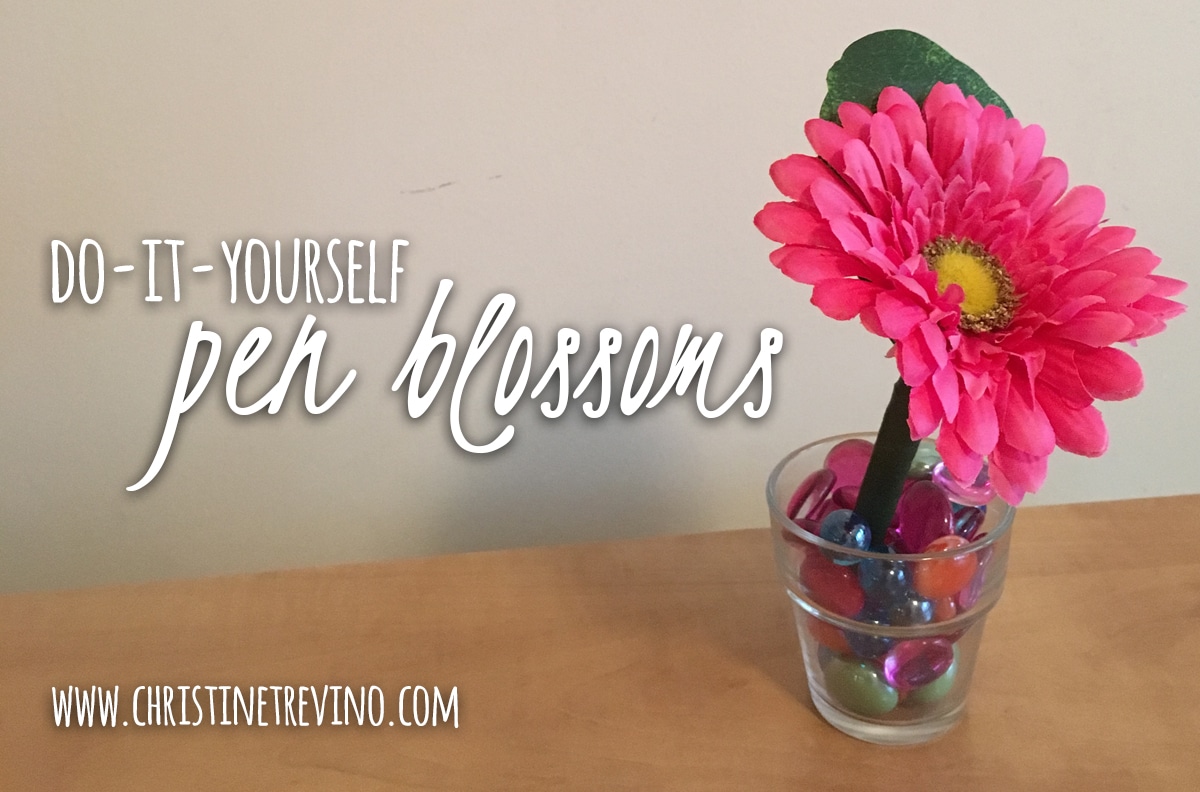
We chose a small glass votive holder from Michaels to “plant” our pen blossoms in that didn’t need any dressing up because I didn’t want to make the project too involved. Plus it showcased the colored filler we chose so nicely, additional decorating would have been overkill.
[More Involved]
However, you could get really creative with the planter and downplay the filler. If your kiddos are up for a longer project, get a few small clay flower pots from a local home and garden store and let them paint the pots with bright spring colors or glue gemstones to the sides. If you do choose to go all out on the planter, opt for a cheaper single-colored or clear filler.
[Most Involved]
If you’re looking to doll up your own office space, consider getting several planters (as shown above) and pick a variety of flowers and colors for a pen blossom garden. Display the planters in a mini garden box either directly on your desk or hanging off the side.
Because this craft is so simple, the creative possibilities really are endless. 🙂

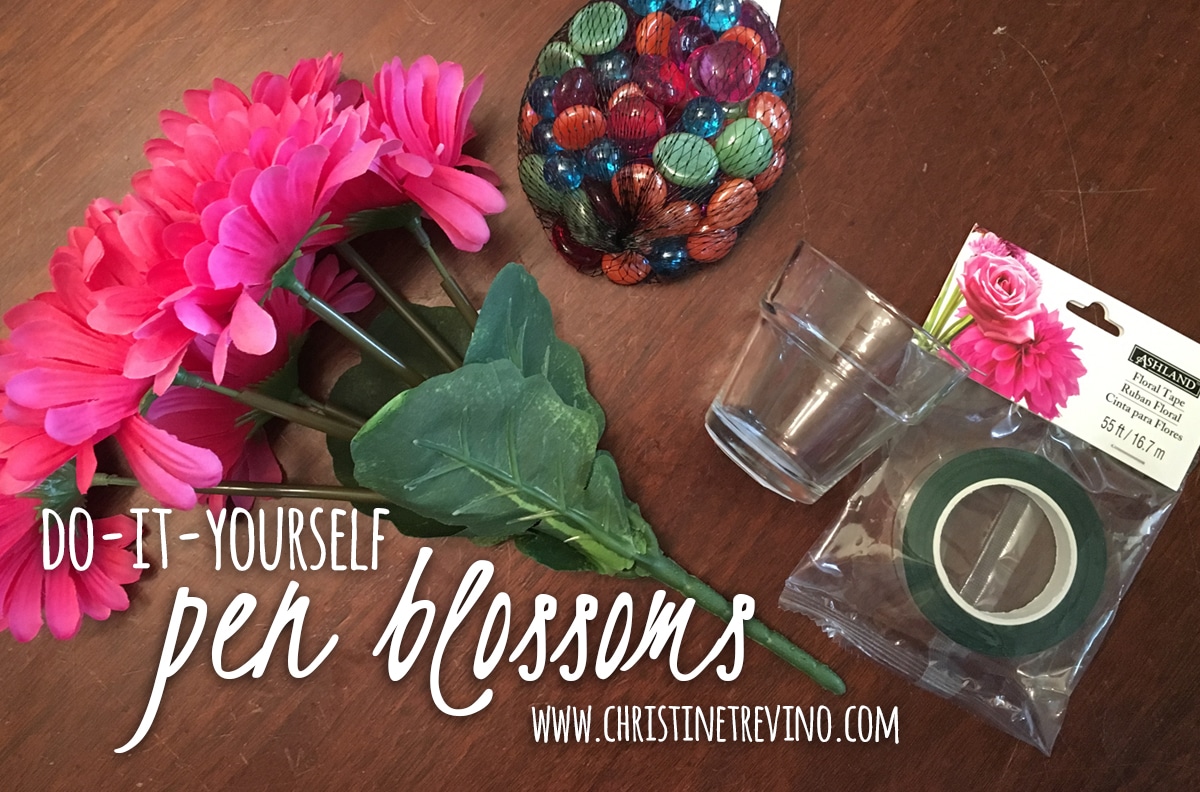
What You Need for 1 Pen Blossom
- Silk flower
- Black pen
- Floral tape
- Glass votive holder
- Decorative filler
- Wire cutters
- Scissors
How to Make It
[1] Snip flowers from the bunch with your wire cutters.
Cut each flower at the base of the bunch to attach the longest stem possible to the pen (but not long enough to interfere with holding/writing with the pen). Remove any additional leaves or stem tubing – you only want the blossom of the flower and the green wire stem.
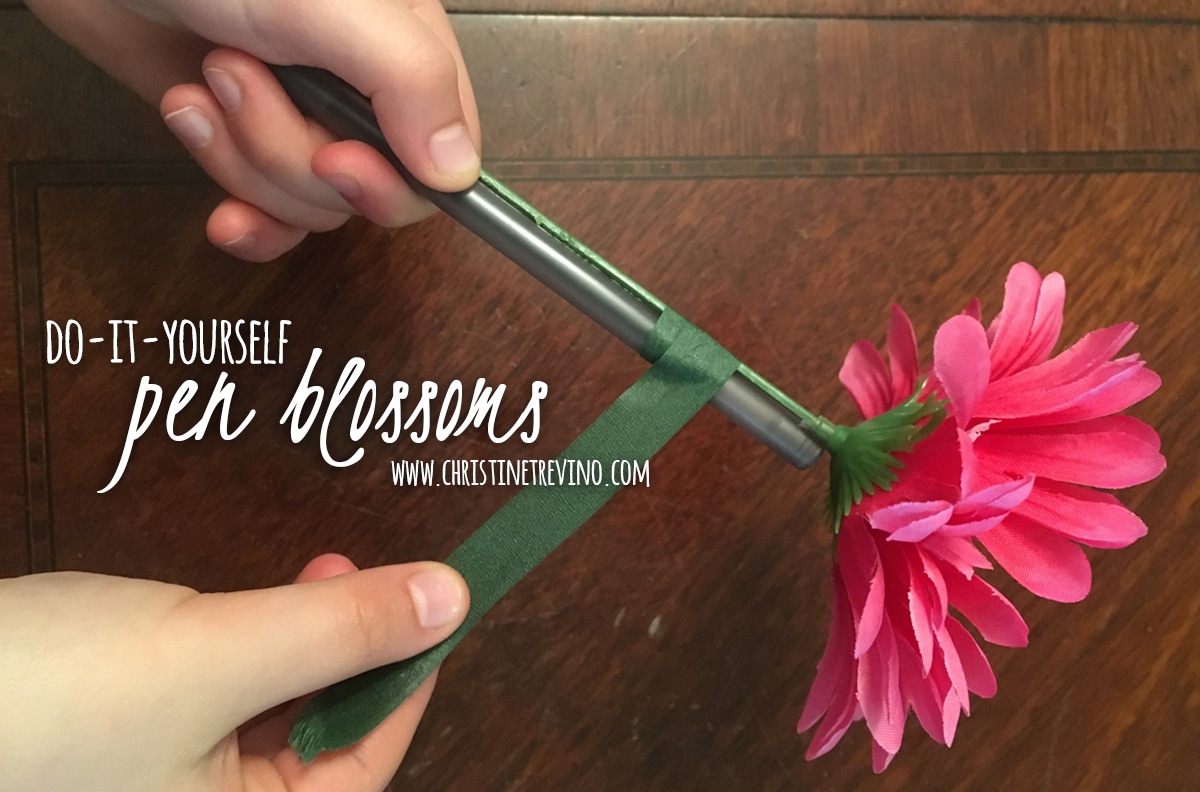
[2] Using floral tape attach the flower and stem to your pen.
Floral tape is pretty awesome because it sticks to itself without being sticky to touch. Pull the floral tape gently as you wind the tape around the pen and stem, making sure to press any bubbles out as you go. Layer the tape as much as you like to cover the pen from top to tip. When you’re finished, just give a final tug and press the tape down.

[3] Using floral tape attach a leaf to your pen blossom.
This step is completely optional and dependent on the type of flower you choose and the leaves that come with it. Our gerber daisies looked equally awesome with or without. If you choose to attach a leaf, wind tape around the pen blossom and leaf stem as directed in step 2.
[4] Plant your pen blossom.
Prep your planter and plant your pen blossom. For us this meant removing labels and filling the votive with colorful glass beads. Remember the fuller you fill the planter (without overflowing) the better your pen blossom will stay planted.

That’s it! Told you it was simple!