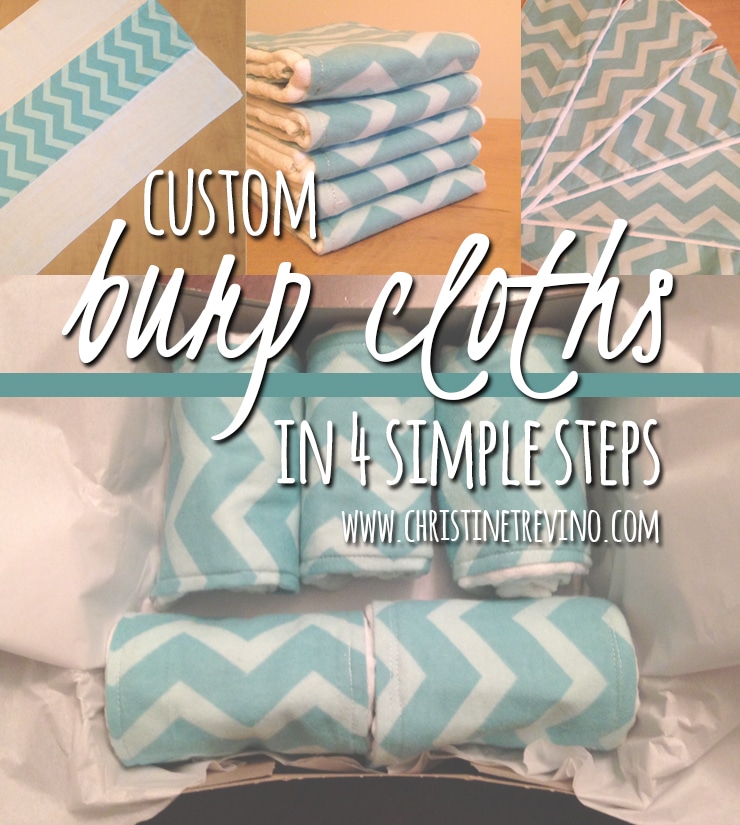
Custom Burp Cloths in 4 Simple Steps
My favorite burp cloth ever was a Baby Gap blue cloth diaper hand-me-down I received from my sister-in-law after my first son was born. It was big, absorbent, and worked so much better than every other burp cloth we owned. As such it spent a lot of time in the washing machine.
With all the babies I’ve had, and all the baby showers I’ve attended, I’ve never found another burp cloth like that Baby Gap cloth diaper. When it was time to think about a gift for my brother and sister-in-law and their coming baby girl, I knew I had to include something practical like that amazing burp cloth with their gift, so I made a few of my own to match the colors of their nursery.
These custom burp cloths are large, absorbent, adorable, and unbelievably easy to make using this simple four-step tutorial. With my own little one coming impossibly soon, I’ve already purchased supplies to make a couple sets of my own.
What you Need
Grab a package of cloth diapers and enough nursery print to cover the center of each diaper you plan to make with a 5-1/2” X 20-1/2” stripe of custom fabric on each side (read X2).
Most of the time you can get away with white thread, but if you’re really picky about these things, add a spool that matches your nursery print to the bill as well.
A couple product notes . . .
I’ve found Gerber Cloth Diapers at my local Target in packages of 5 and 10 under the names “prefold birdseye cloth diapers” (as pictured above) or “prefold premium 6-ply cloth diapers.” Unfortunately I’ve never seen them anywhere else. If you have – do tell in the comments below.
I like using flannel fabric from the nursery prints section of the fabric store. It’s softer and more absorbent than the straight-up cotton prints they sell.
How to Make it
1. Measure and cut the nursery print.
The thick center stripe on the cloth diapers I used measured 4-1/2″ X 19-1/2″, so I cut two stripes of nursery print at 5-1/2″ X 20-1/2″ for each burp cloth. If yours measure differently, add an inch to each side for seam allowance.
Pay attention to the pattern of your fabric when measuring and cutting, especially if there are straight lines or an obvious direction little characters or animals should be facing.
2. Seam the long sides of each stripe of nursery print.
Sew a half-inch seam along the long sides of your nursery print. Set them aside for pinning.
3. Sew the front and back stripes of nursery print to the cloth diaper.
Match the front and back stripes of nursery print to the thick center stripe of the cloth diaper and pin in place. The short edges of the front and back stripes of nursery print should be lined up, and overlapping the edge of the cloth diaper on both sides as pictured above.
Following the seam already on the nursery print, sew both front and back stripes to the cloth diaper.
4. Finish the short edges of the burp cloth.
Fold the back stripe of nursery print over the edge of the cloth diaper and tuck the front stripe in to match. Pin together and stitch closed to finish. Repeat for both sides.
Your custom burp cloth is complete!
Press to finish, roll, and gift wrap for additional cuteness, or wash and start using with your little one :).


