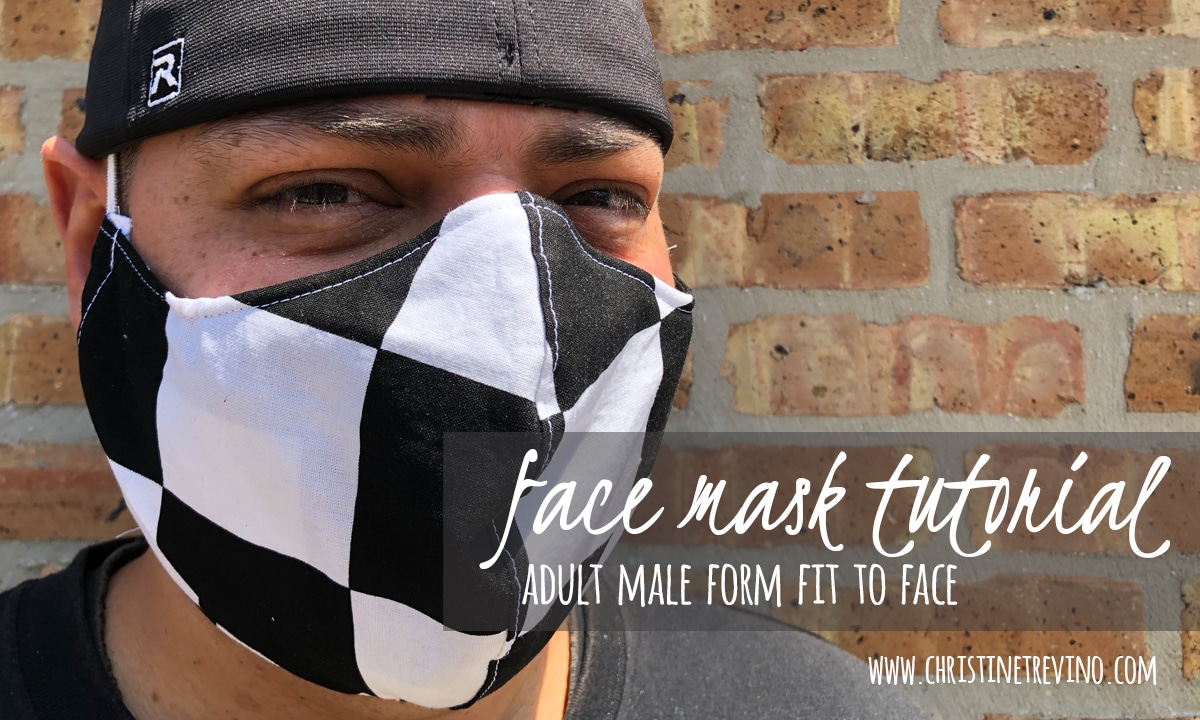
Cloth Face Mask Tutorial [2 masks, 5 sizes]
Who knew this would even be a thing to post about in 2020?
With a coronavirus vaccine not due out for months, and states re-opening to varying degrees, it seems social distancing and cloth face masks are a must for the foreseeable future. Continue reading for detailed instructions on how to make two different mask styles in five different sizes.
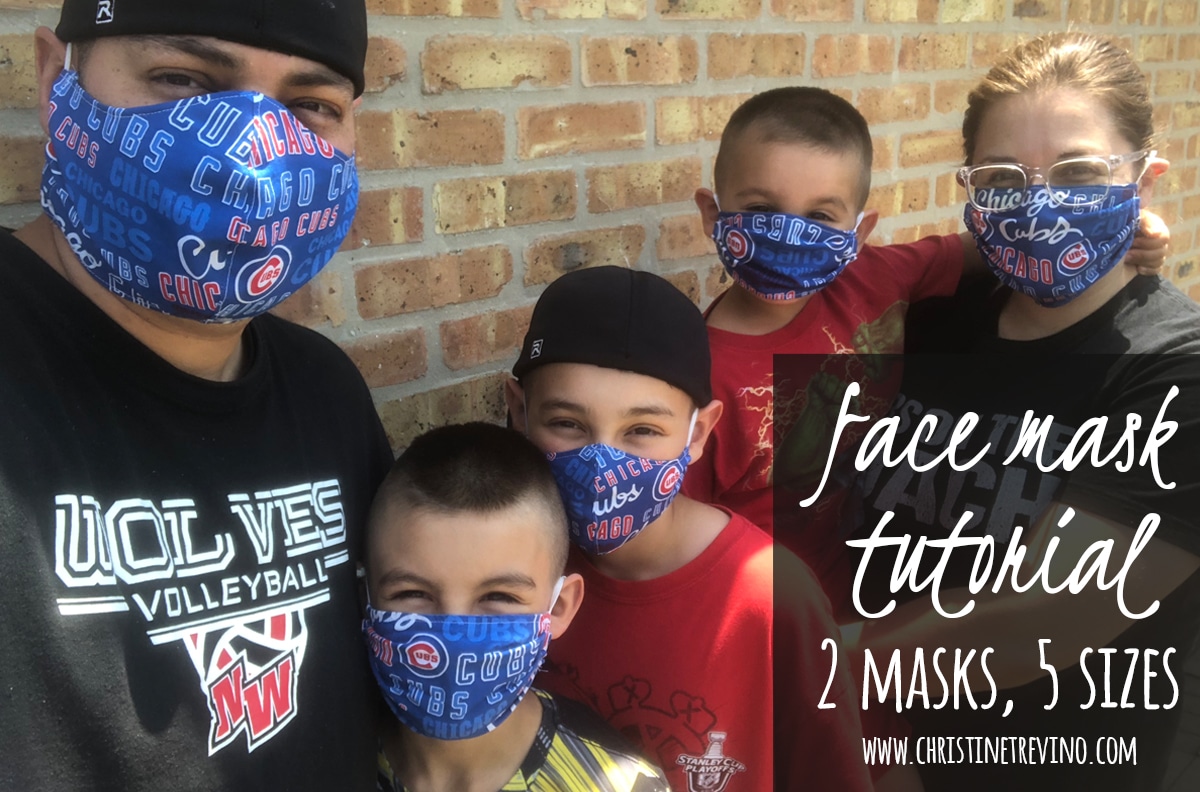
I started making masks early on for health care workers as a result of running across the Million Mask Challenge on Instagram, and then quickly shifted to helping family and friends with masks when the CDC made those recommendations for the general public.
Since March, my sewing machine’s logged a lot of masks. What I discovered was that not every mask pattern is a one-size-fits-all. It became wildly apparent that to ensure everyone in my family would comply with state regulations AND be comfortable and confident wearing a mask, I would have to customize and alter patterns already available on the internet to meet my family’s needs.
I know I’m not the only momma trying to ask her babies to do something so insanely foreign to them, so I wanted to share my custom patterns with you.
There are instructions for two types of masks included in this post – a Simple Rectangle Mask with Pleats in three different sizes and a Form Fit to Face Mask in two different sizes. Neither style is better than the other, rather they offer the user a different look and feel based on shape and size. I recommend using a pre-shrunk cotton fabric with a fun pattern for either and a thin elastic (if you can find it). While the rectangle mask is designed to be used with elastic over the ears, and the form fit mask with elastic wrapped around the crown of the head and nape of the neck, simple modifications can be made to accommodate the opposite for either mask.
I hope these help your family as much as they’ve helped mine.
Cloth Face Mask #1
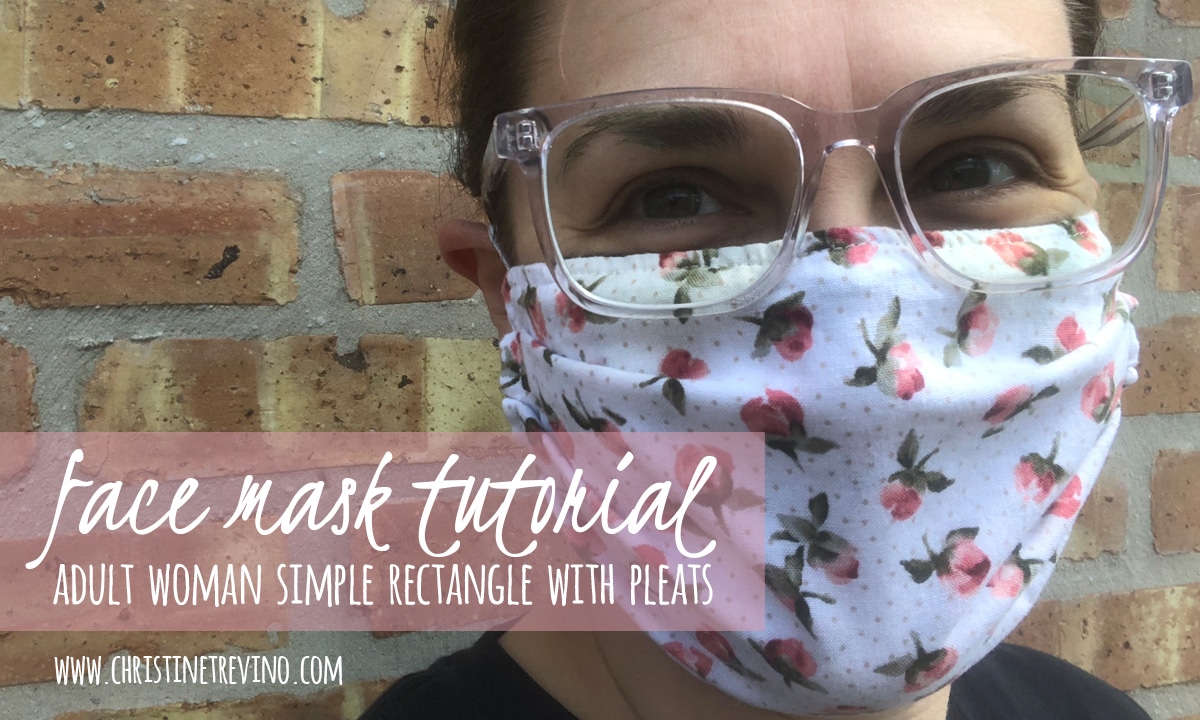
Simple Rectangle with Pleats
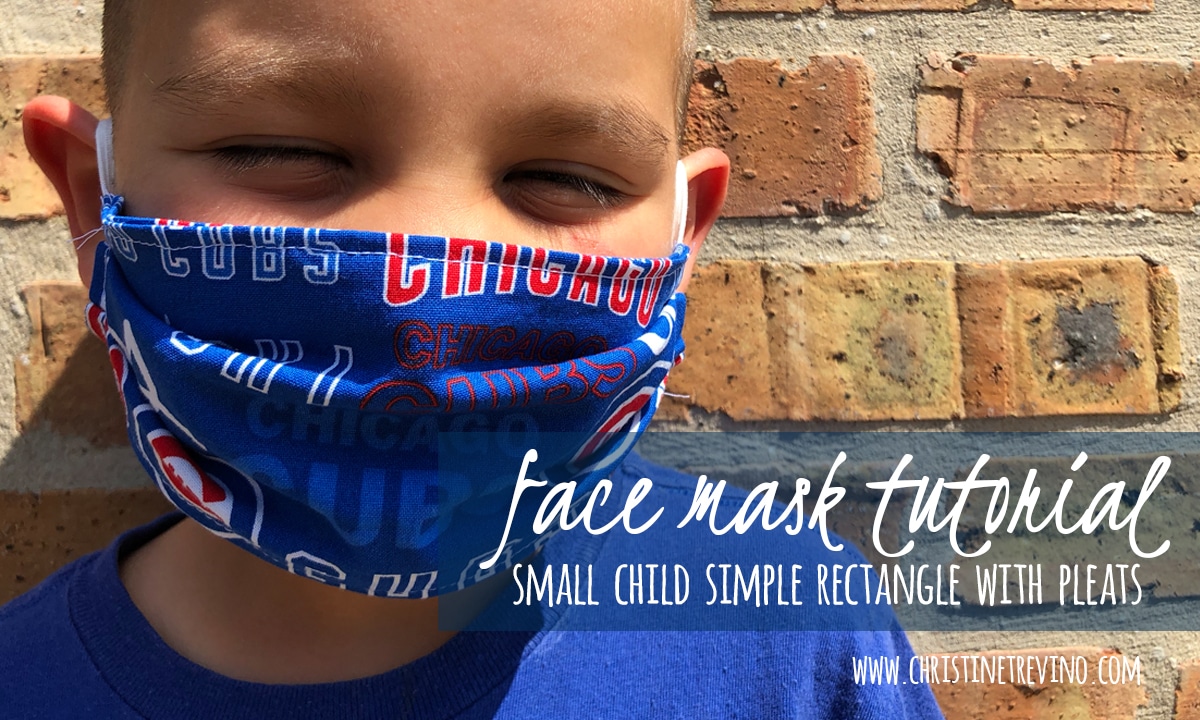
Building upon the mask pattern ideas at Sew Good Goods and the St. Gerald Woman’s Club of Oak Lawn, I created a larger coverage mask pattern with a nose bridge for Adult Women, and scaled that pattern down for two different Child sizes (all patterns linked below). I personally feel much more comfortable with this fit, as do my two youngest boys (age 4 and 9).
Downloadable Patterns
Small Child | Child | Adult Woman
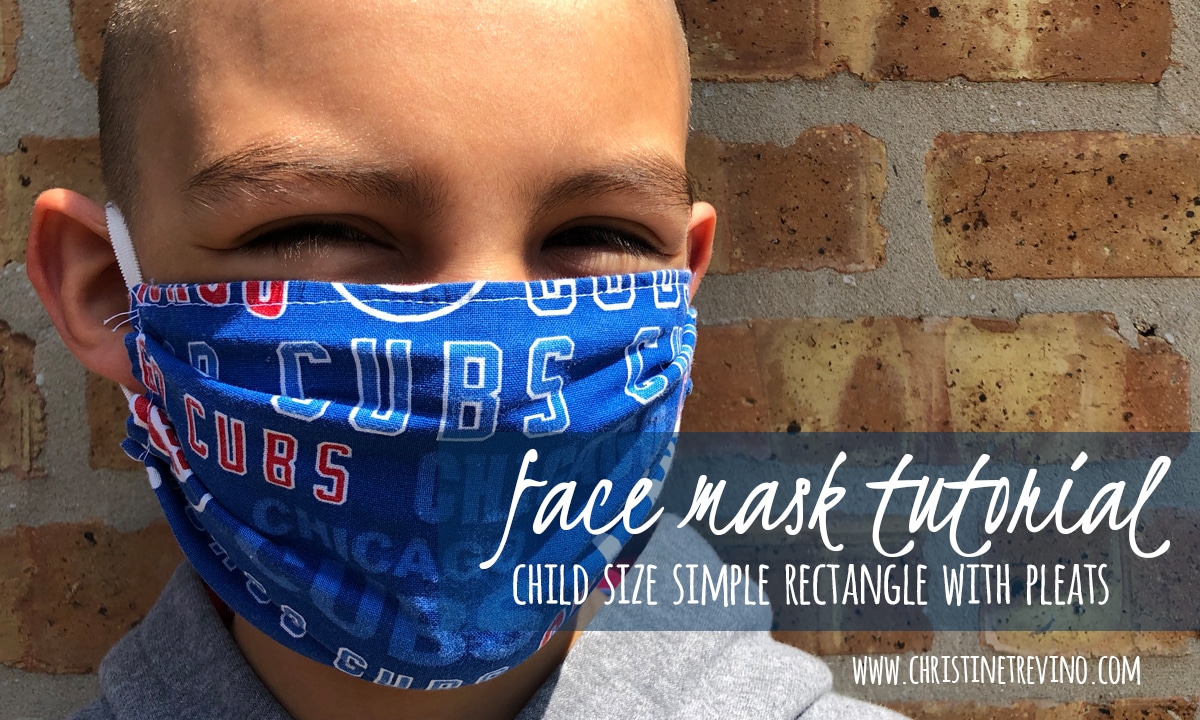
This size also fits my 11 year old tween as well.
What you need
- Downloadable pattern (linked above)
- Pre-washed patterned cotton fabric
- Small Child | 2 cuts of 7-1/2″X5″
- Child | 2 cuts of 8″X6″
- Adult Woman | 2 cuts of 9″X7″
- 1/4″ elastic (to be used around the ear)*
- Small child | 2 lengths of 5-1/2″
- Child | 2 lengths of 6″
- Adult Woman | 2 lengths of 6-1/2″
- 1-1/4″ wide fabric bias tape or braided binding tape**
- Adult Woman | 6-3/4″ length
- Pipe Cleaner**
*Elastic lengths are tricky to determine right now with in-store shortages and the need to buy sight-unseen at online distributors. This style mask works best with 1/4″ wide elastic or smaller. Plan to adjust these lengths as needed for your family.
**The fabric bias tape/braided binding tape and pipe cleaner are used to create the optional nose bridge to help with foggy glasses. Just remove the pipe cleaner to wash and re-insert when the mask has been dried. If you’re not planning to add a nose bridge go ahead and skip these items.
How to Make it
[1] Cut out your pieces.
This will include two cuts of the fabric, two lengths of elastic, and a length of the bias tape/braided binding if you’re planning on adding a nose bridge.

[2] OPTIONAL: Sew in the nose bridge.
NOTE: The OPTIONAL nose bridge is SUPER helpful if you’re planning to wear your mask with glasses or sunglasses. Go ahead and skip this step if you’re fine without it.
Know that you can absolutely use another piece of fabric for the nose bridge, but will need to finish all edges. The fabric bias tape/braided binding allows you to skip seaming the top and bottom of the bridge because it’s a finished edge.
Take the fabric bias tape or braided binding tape and finish one edge (where the pipe cleaner will be inserted). I always finish the left side so that the pipe cleaner can be inserted left to right.
Pin the fabric bias tape/braided binding tape to the finished liner part of the mask as shown below.

[3] Sew the inside of the mask to the outside.
Line up the two rectangles of your mask together with the right side of the fabric facing in, and the OPTIONAL nose bridge at the top.
Starting in the middle of the long edge, stitch toward a corner. Insert one end of one length of elastic into the corner and stitch down. Stitch along the short edge of the rectangle and pull the same length of elastic toward the second corner and stitch down (the elastic should be on the inside of the two pieces of fabric rather than on the outside).
Stitch along the long edge of the rectangle toward the third corner. Insert the second length of elastic and stitch down. Stitch along the final short edge of the rectangle and pull the same length of elastic toward the fourth corner and stitch down (again with the elastic inside the two pieces of fabric). Stop once the fourth corner and elastic are stitched down.

To recap: One length of elastic will be strung (and stitched) from corner 1 to corner 2. The second length of elastic will be strung (and stitched) from corner 3 to corner 4.

[4] Turn the mask inside out, pin, and stitch around all four edges.

[5] Pin pleats, and stitch them down.
Turn the mask so the outside is facing up (if you’re using the OPTIONAL nose bridge that would be facing away from you). Make three pleats for an adult or child mask (ONLY TWO PLEATS for a small child mask) and pin them down.
Stitch the pleats down along the short sides of the mask.

[6] OPTIONAL: Insert pipe cleaner.
A doubled over and twisted pipe cleaner makes an excellent nose bridge. If you’ve added the optional nose bridge to the mask, insert it now.

Voila! You’re done!
Cloth Face Mask #2
Form Fit to Face
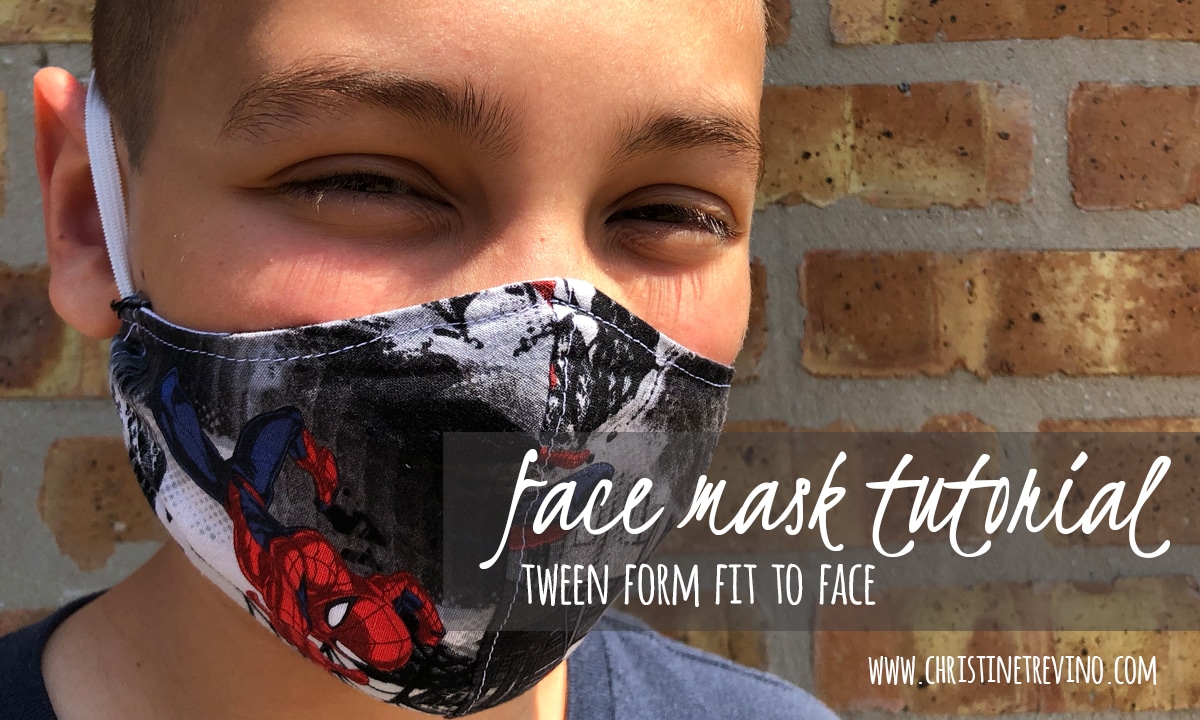
The Craft Passion blog has a pretty amazing Face Mask Sewing Pattern in four different sizes with extensive directions included in her post. Her Teenagers & Women Size pattern (linked below) was a great fit for my 11 year old. I used her pattern along with the instructions I’m including in this post to make all of his masks.
Unfortunately, along with our two youngest, I found the mask too constrictive, and the largest size she offered was just simply too small for my husband. Expanding on the shape of her mask, I created a custom Adult Male Pattern (linked below) that had much more coverage for my husband and fit him more comfortably.
Downloadable Patterns
Tween | Adult Male
What you need
- Downloadable pattern (linked above)
- Pre-washed patterned cotton fabric (four pattern cuts for each mask)
- 1/4″ elastic (a wider elastic may be used for around the head masks)*
- Tween | l length of 20″ (for around the head) OR 2 lengths of 6″ (for around the ears)
- Adult Male | 1 length of 24-3/4″ (for around the head) OR 2 length of 7″ (for around the ears)
- 1-1/4″ wide fabric bias tape or braided binding tape**
- Adult Male | 8″ length
- Pipe Cleaner**
*Elastic lengths are tricky to determine right now with in-store shortages and the need to buy sight-unseen at online distributors. Should you choose to go with a wider elastic for around the head masks, more “give” in the elastic may be necessary, and therefore a longer length will be needed. Plan to adjust these lengths as needed for your family.
**The fabric bias tape/braided binding tape and pipe cleaner are used to create the optional nose bridge to help with foggy glasses Just remove the pipe cleaner to wash and re-insert when the mask has been dried. If you’re not planning to add a nose bridge go ahead and skip these items.
How to Make it
[1] Cut out your pieces.
This will include two cuts of the liner pattern, two cuts of the outer pattern, a length of elastic, and a length of the bias tape/braided binding if you’re planning on adding a nose bridge.

[2] Sew the liner pieces and outside pieces of the mask.
Taking the liner pieces (right side of fabric facing in), sew along the curve of the mouth ONLY, and then clip along the curve.
Do the same for the outside pieces of the mask.

[3] Sew the seamed edge down on both the liner and outside of the mask.
Stitch as close to the seam as possible to grab the clipped edges of the curve on the back of each side of the mask (without giving a full seam allowance). You should end up with a clean seam on what will become the front of the mask and inside of the mask.

[4] OPTIONAL: Sew in the nose bridge.
NOTE: The OPTIONAL nose bridge is SUPER helpful if you’re planning to wear your mask with glasses or sunglasses. Go ahead and skip this step if you’re fine without it.
Know that you can absolutely use another piece of fabric for the nose bridge, but will need to finish all edges. The fabric bias tape/braided binding allows you to skip seaming the top and bottom of the bridge because it’s a finished edge.
Take the fabric bias tape or braided binding tape and finish one edge (where the pipe cleaner will be inserted). I always finish the left side so that the pipe cleaner can be inserted left to right.
Pin the fabric bias tape/braided binding tape to the finished liner part of the mask as shown below.

Stitch the fabric bias tape/braided binding tape on the right side and bottom of the nose bridge to the liner of the mask as shown below.

[5] Pin the the liner of the mask to the outside of the mask (right side of fabric facing in) and sew together along the top and bottom.

[6] Turn the mask inside out and stitch down along the top and bottom of the completed mask.

[7] Stitch in the left side elastic.
NOTE: Every elastic is different so you may have to play with the length for optimal comfort.
Place the mask outside down on the table and start with the left side of the mask. Pin a fold down over the elastic to save you the hassle of threading it through and stitch closed. (This also gives you the ability to adjust to different widths of elastic.)

[8] Stitch in the right side elastic.
Loop the elastic around the top of the mask and drop it down along the right side so it ends untied along the bottom of the mask. Pin a fold down over the elastic and stitch closed.

NOTE: I know what length I need for this particular mask, so I have my elastic pre-cut. If you aren’t sure, leave it long and measure on your person. Then cut the length and write it down for making the next mask!
[9] Fasten Elastic.
Once you know the length you need, stitch the ends of the elastic together or tie it off. If you stitch the elastic you will be able to tuck it into either side of your mask.

[10] OPTIONAL: Insert pipe cleaner.
A doubled over and twisted pipe cleaner makes an excellent nose bridge. If you’ve added the optional nose bridge to the mask, insert it now.

You’re good to go!
